Ever wondered if limewash is a good fit for your bathroom? The answer is a resounding yes!
When it comes to transforming your bathroom with color, limewash is not just suitable; it's exceptional. Designed to thrive in high-humidity environments, our limewash boasts unparalleled resilience. What sets it apart? Unlike conventional paints, limewash is non-film-forming, ensuring it won't blister or peel, even in the steamiest conditions. It's a natural antibacterial agent, providing resistance against mold. In summary, choosing limewash isn't just a stylistic decision; it's a commitment to a healthier and more enduring environment.
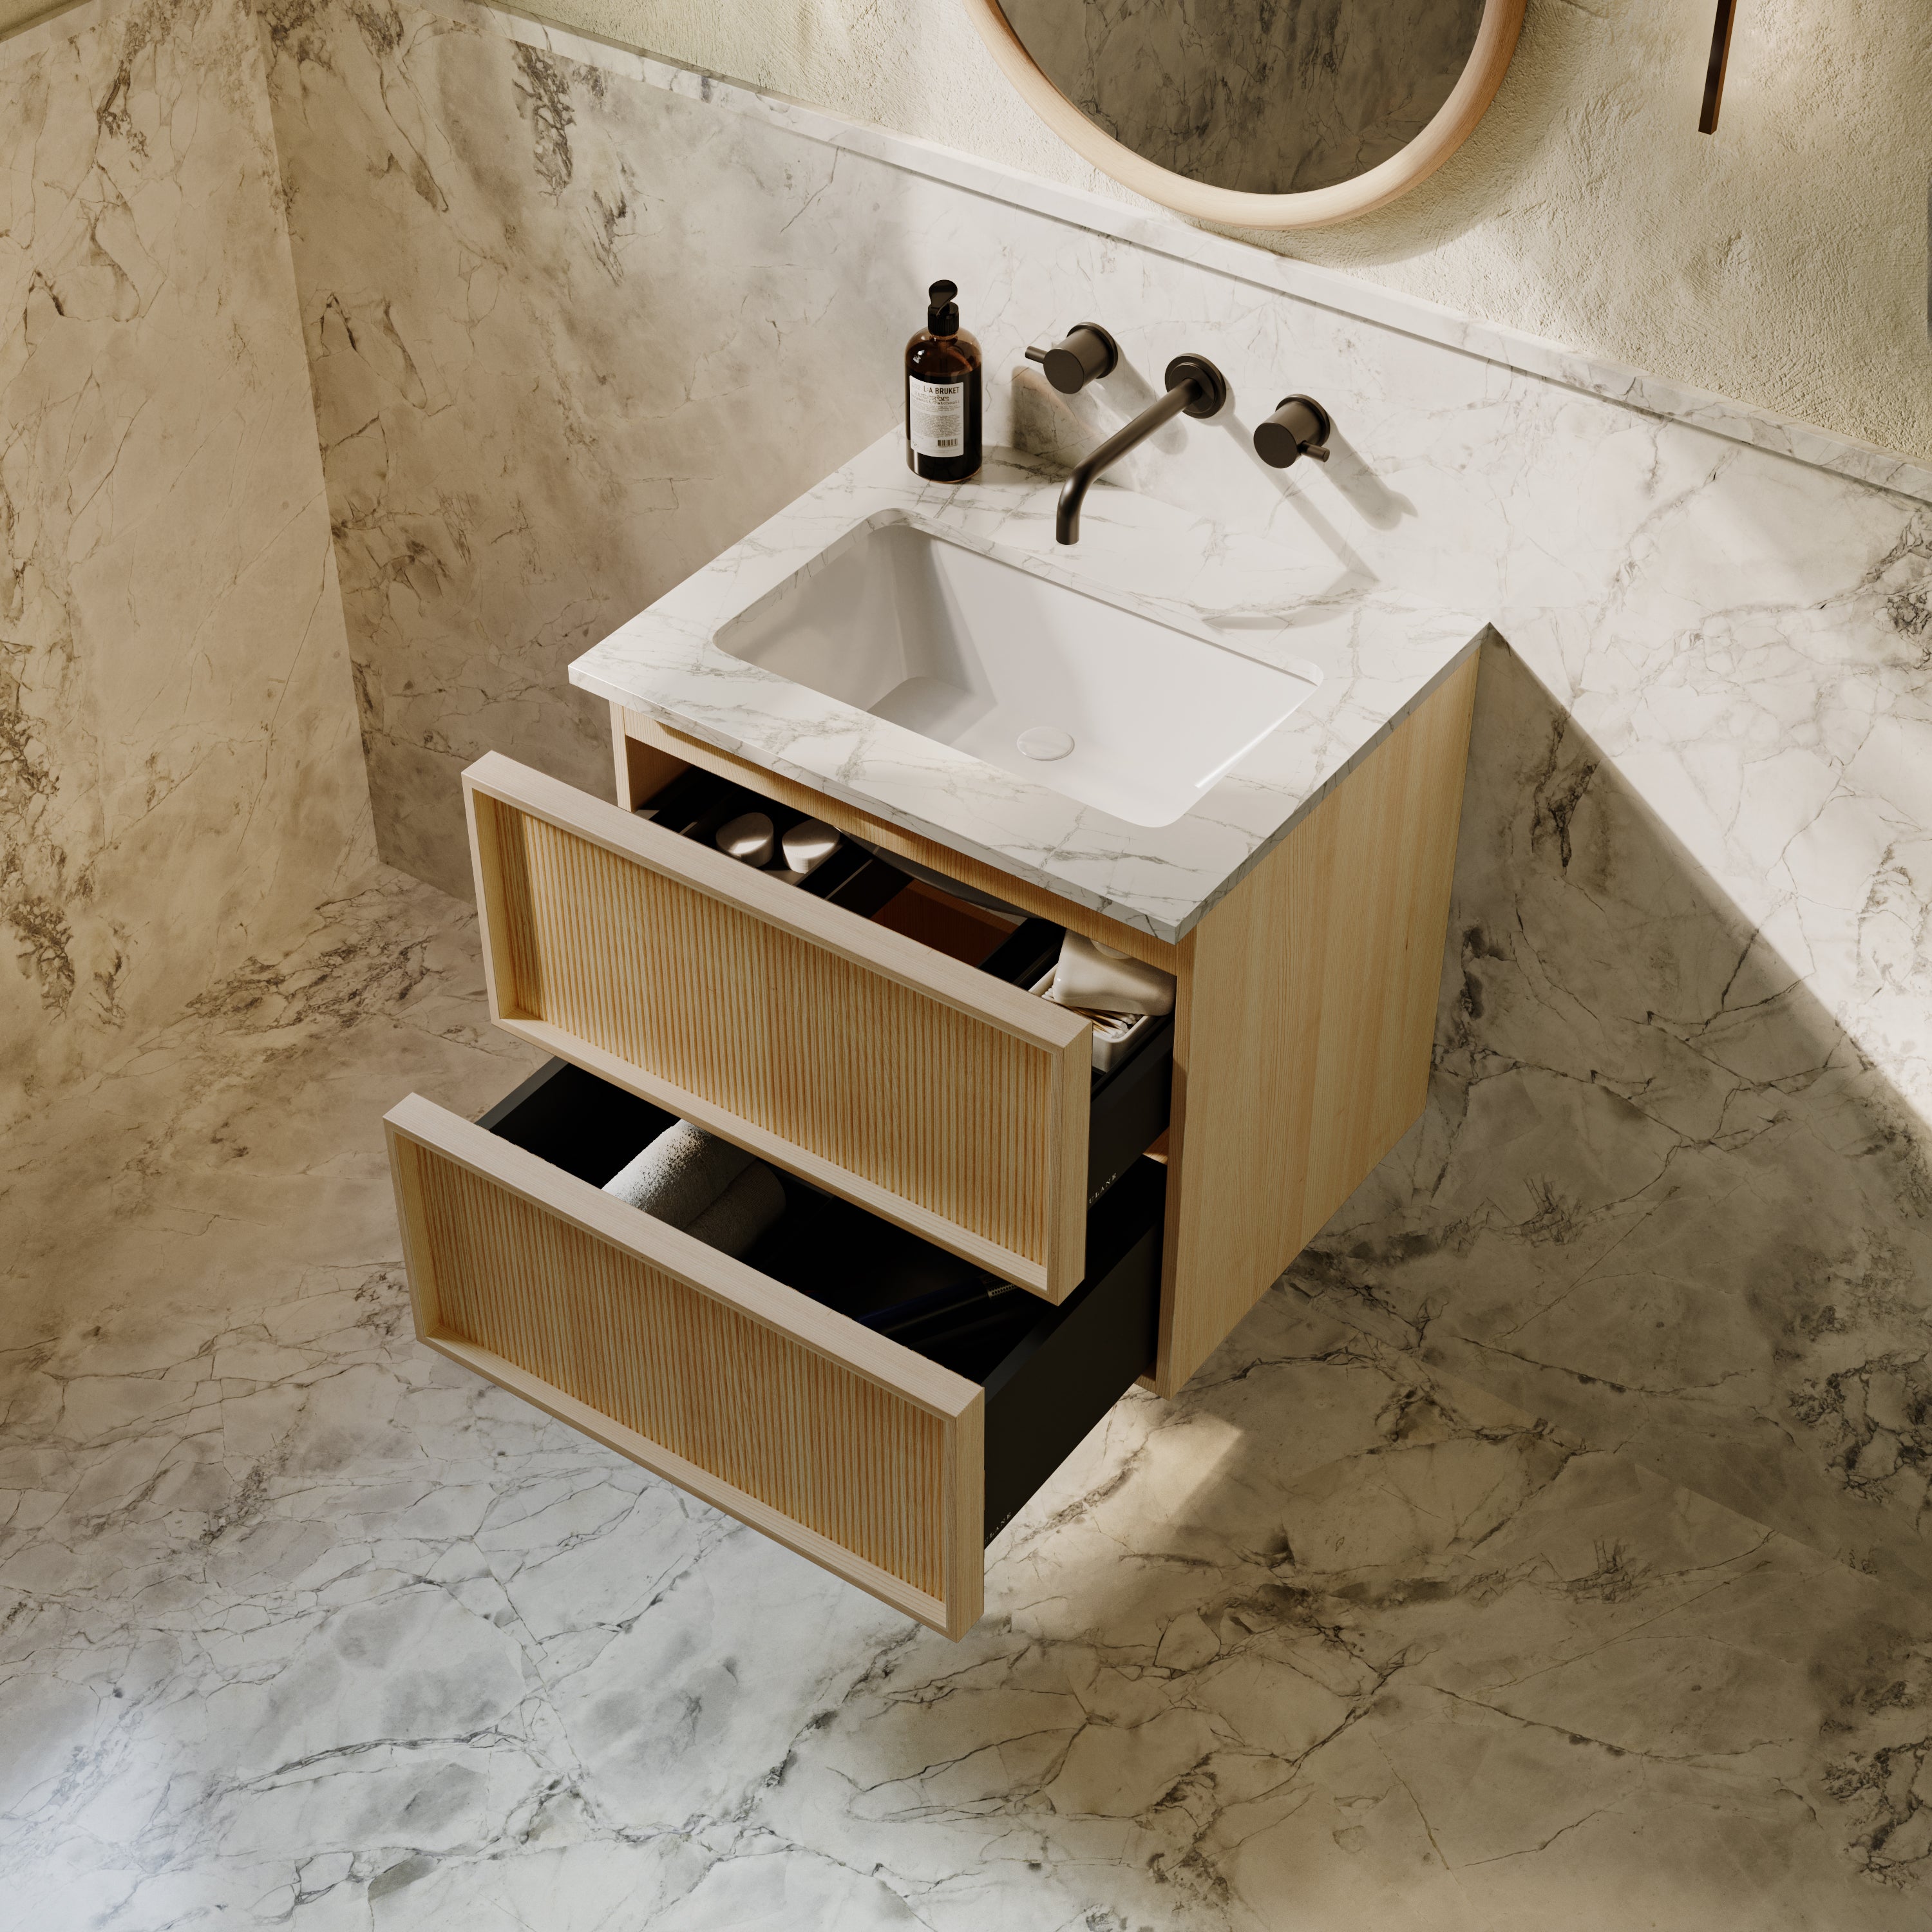
From a design standpoint, the appeal of using limewash in bathrooms becomes clear. These spaces often exude a cold ambiance, both physically and visually, due to the prevalence of hard finishes. Limewash emerges as the perfect solution, adding a touch of softness to the room and infusing it with visual warmth.
“If it stands still, we lime wash it! We did all the walls and ceiling in our bathroom and the space benefits from it so much. It creates a space that surrounds you in warmth and texture."
Oliver Beckett, Interior Designer | @jamesstreethouse
Choosing between redecorating and renovating plays a pivotal role in determining how you treat the foundational layer of your walls. Regardless of the project scale, we advocate for a skip-the-sealer approach, allowing the walls to seamlessly integrate into your micro-climate. This promotes the absorption of excess humidity and facilitates easy release.

@jamesstreethouse
Redecorating
When refreshing existing finished walls, adhere to standard instructions for painting over conventional paint. While these walls may not offer as much breathability, they still deliver both environmental and visual benefits.
Renovating
For those embarking on the creation of fresh walls, be it in new construction or a gutted existing space, this presents a golden opportunity to establish an optimal surface base capable of handling high humidity. An absorbent render serves as the ideal substrate, and we recommend opting for a lime-based or cement-based render that prioritizes breathability. Applying limewash paint directly over this type of render ensures a result that excels in both durability and breathability.

© Atelier Karasinski
Oliver + Becky Beckett, the creative minds behind @jamesstreethouse, skillfully crafted an optimal breathable foundation during their DIY gut renovation. Having previously experienced the transformative effects of limewash on gypsum plaster in their living room, they were eager to harness its full potential by incorporating a lime-based plaster in their new bathroom.
Despite their limited expertise, they undertook the application of the one-coat plaster themselves. Though they faced initial challenges, they quickly found their rhythm and perfected their technique. Reflecting on the outcome, Oliver shared, 'While our walls weren't perfectly flat, it didn't matter because they had texture and told the story of achieving something using natural materials.'
“I wanted a depth and warmth which coincided with our handmade Tiles of Ezra Moroccan tiles. I wanted to really set a mood, and the limewash has such a beautiful transparency in layering yet strength to it."
Georgia Ezra, Interior Designer + Tile Designer
The benefits of their decision were evident from the start. Oliver recounted the issues with their previous bathroom—a combination of tile and paint on gypsum, plagued by water accumulation and persistent mold above the window. He observed, 'I've witnessed firsthand how this permeable system operates. My favorite aspect? Enjoying a leisurely shower, stepping out, and reveling in a condensation-free mirror and walls—a stark contrast to the frustrations of our previous setup.

© Daytrip Studio
Unlocking the versatility of limewash paint in your space is akin to working with traditional paint. It seamlessly finds its place on all bathroom walls and ceilings, with the exception of the interior of a shower or the immediate vicinity surrounding a bath. However, it's essential to consider that limewash paint is highly absorbent. While this characteristic facilitates moisture evaporation, it also means it can absorb materials that might leave marks, such as toothpaste and soap.
While sealers can prevent absorption, we advise against using them as they compromise the breathable advantages of limewash and make repainting more challenging. When deciding where to apply limewash based on your lifestyle, usage patterns, and maintenance preferences, consider the following approaches:
01 | Minimize Marks with a Splashback
If occasional marks are a concern, strategically use tiles or other waterproof materials behind the sink, toilet, or other areas prone to water, toothpaste, and soap exposure. By employing waterproof materials in these potential splash zones, you can confidently paint the remaining areas with limewash. Our extensive palette, boasting nearly 400 limewash colors, ensures you can easily find a shade that harmonizes with other materials in your room, be it tiles, tadelakt, or microcement.
02 | Embrace a Relaxed, Lived-In Aesthetic with Subtle Touch-ups
For those who prefer a more casual, lived-in appearance and are not inclined to use tiles in splash-prone areas, here's an alternative approach: go for it! Feel free to paint limewash around sinks and other areas not constantly exposed to water. Simply paint over any marks or stains as needed. The beauty of limewash is that there's no extensive preparation required for repainting. Maintenance can be as effortless as grabbing a limewash brush and applying a quick 15-minute coat to the wall. Ensure complete coverage from edge to edge to avoid visible lines.
Pro Tip
If you've opted for a light color like Whitewash, Raw White, or Chalk, you can conveniently patch up by repainting only the marked areas instead of the entire wall. Bronwyn Riedel, co-founder of Bauwerk Colour, employs this method for her 'Whitewash' bathroom walls. Every few months, she uses a sample pot to touch up spots, and within two minutes (yes, we've timed it), the room is effortlessly refreshed.
Article adapted from original article found here. To achieve the looks in this article, visit our friends at Bauwerk Colour - www.bauworkcolour.com


Leave a comment
All comments are moderated before being published.
This site is protected by hCaptcha and the hCaptcha Privacy Policy and Terms of Service apply.