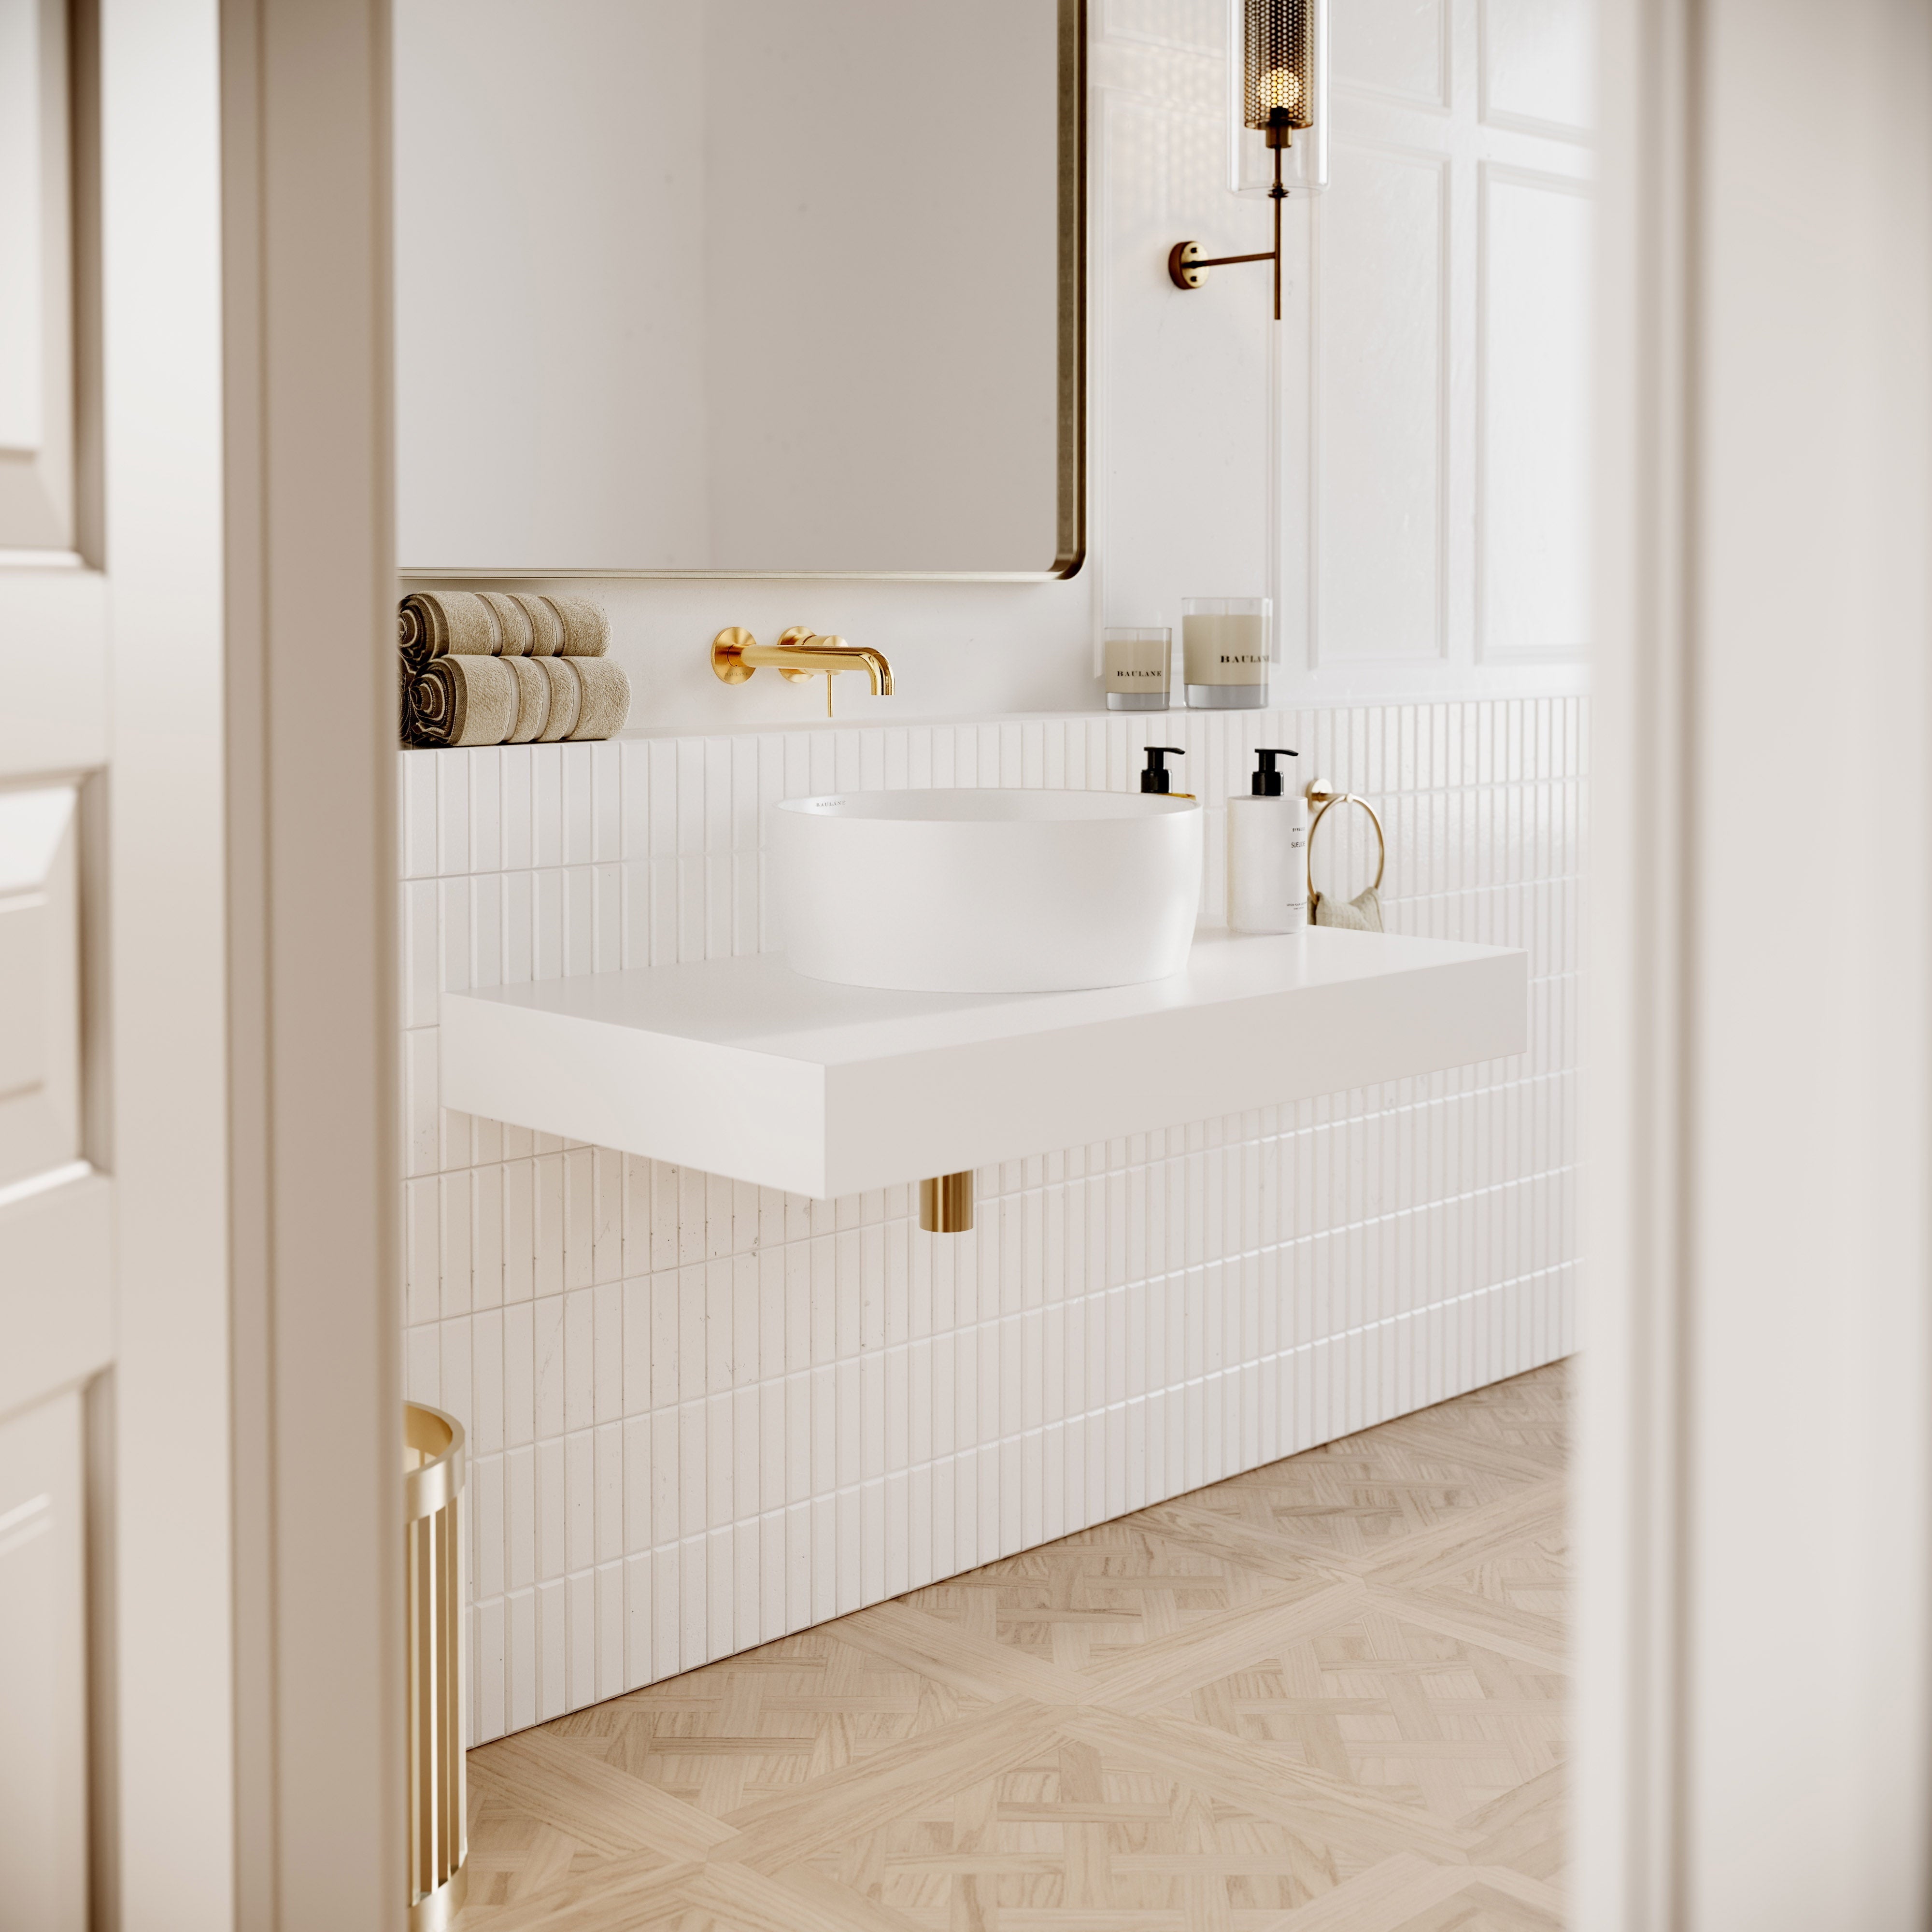
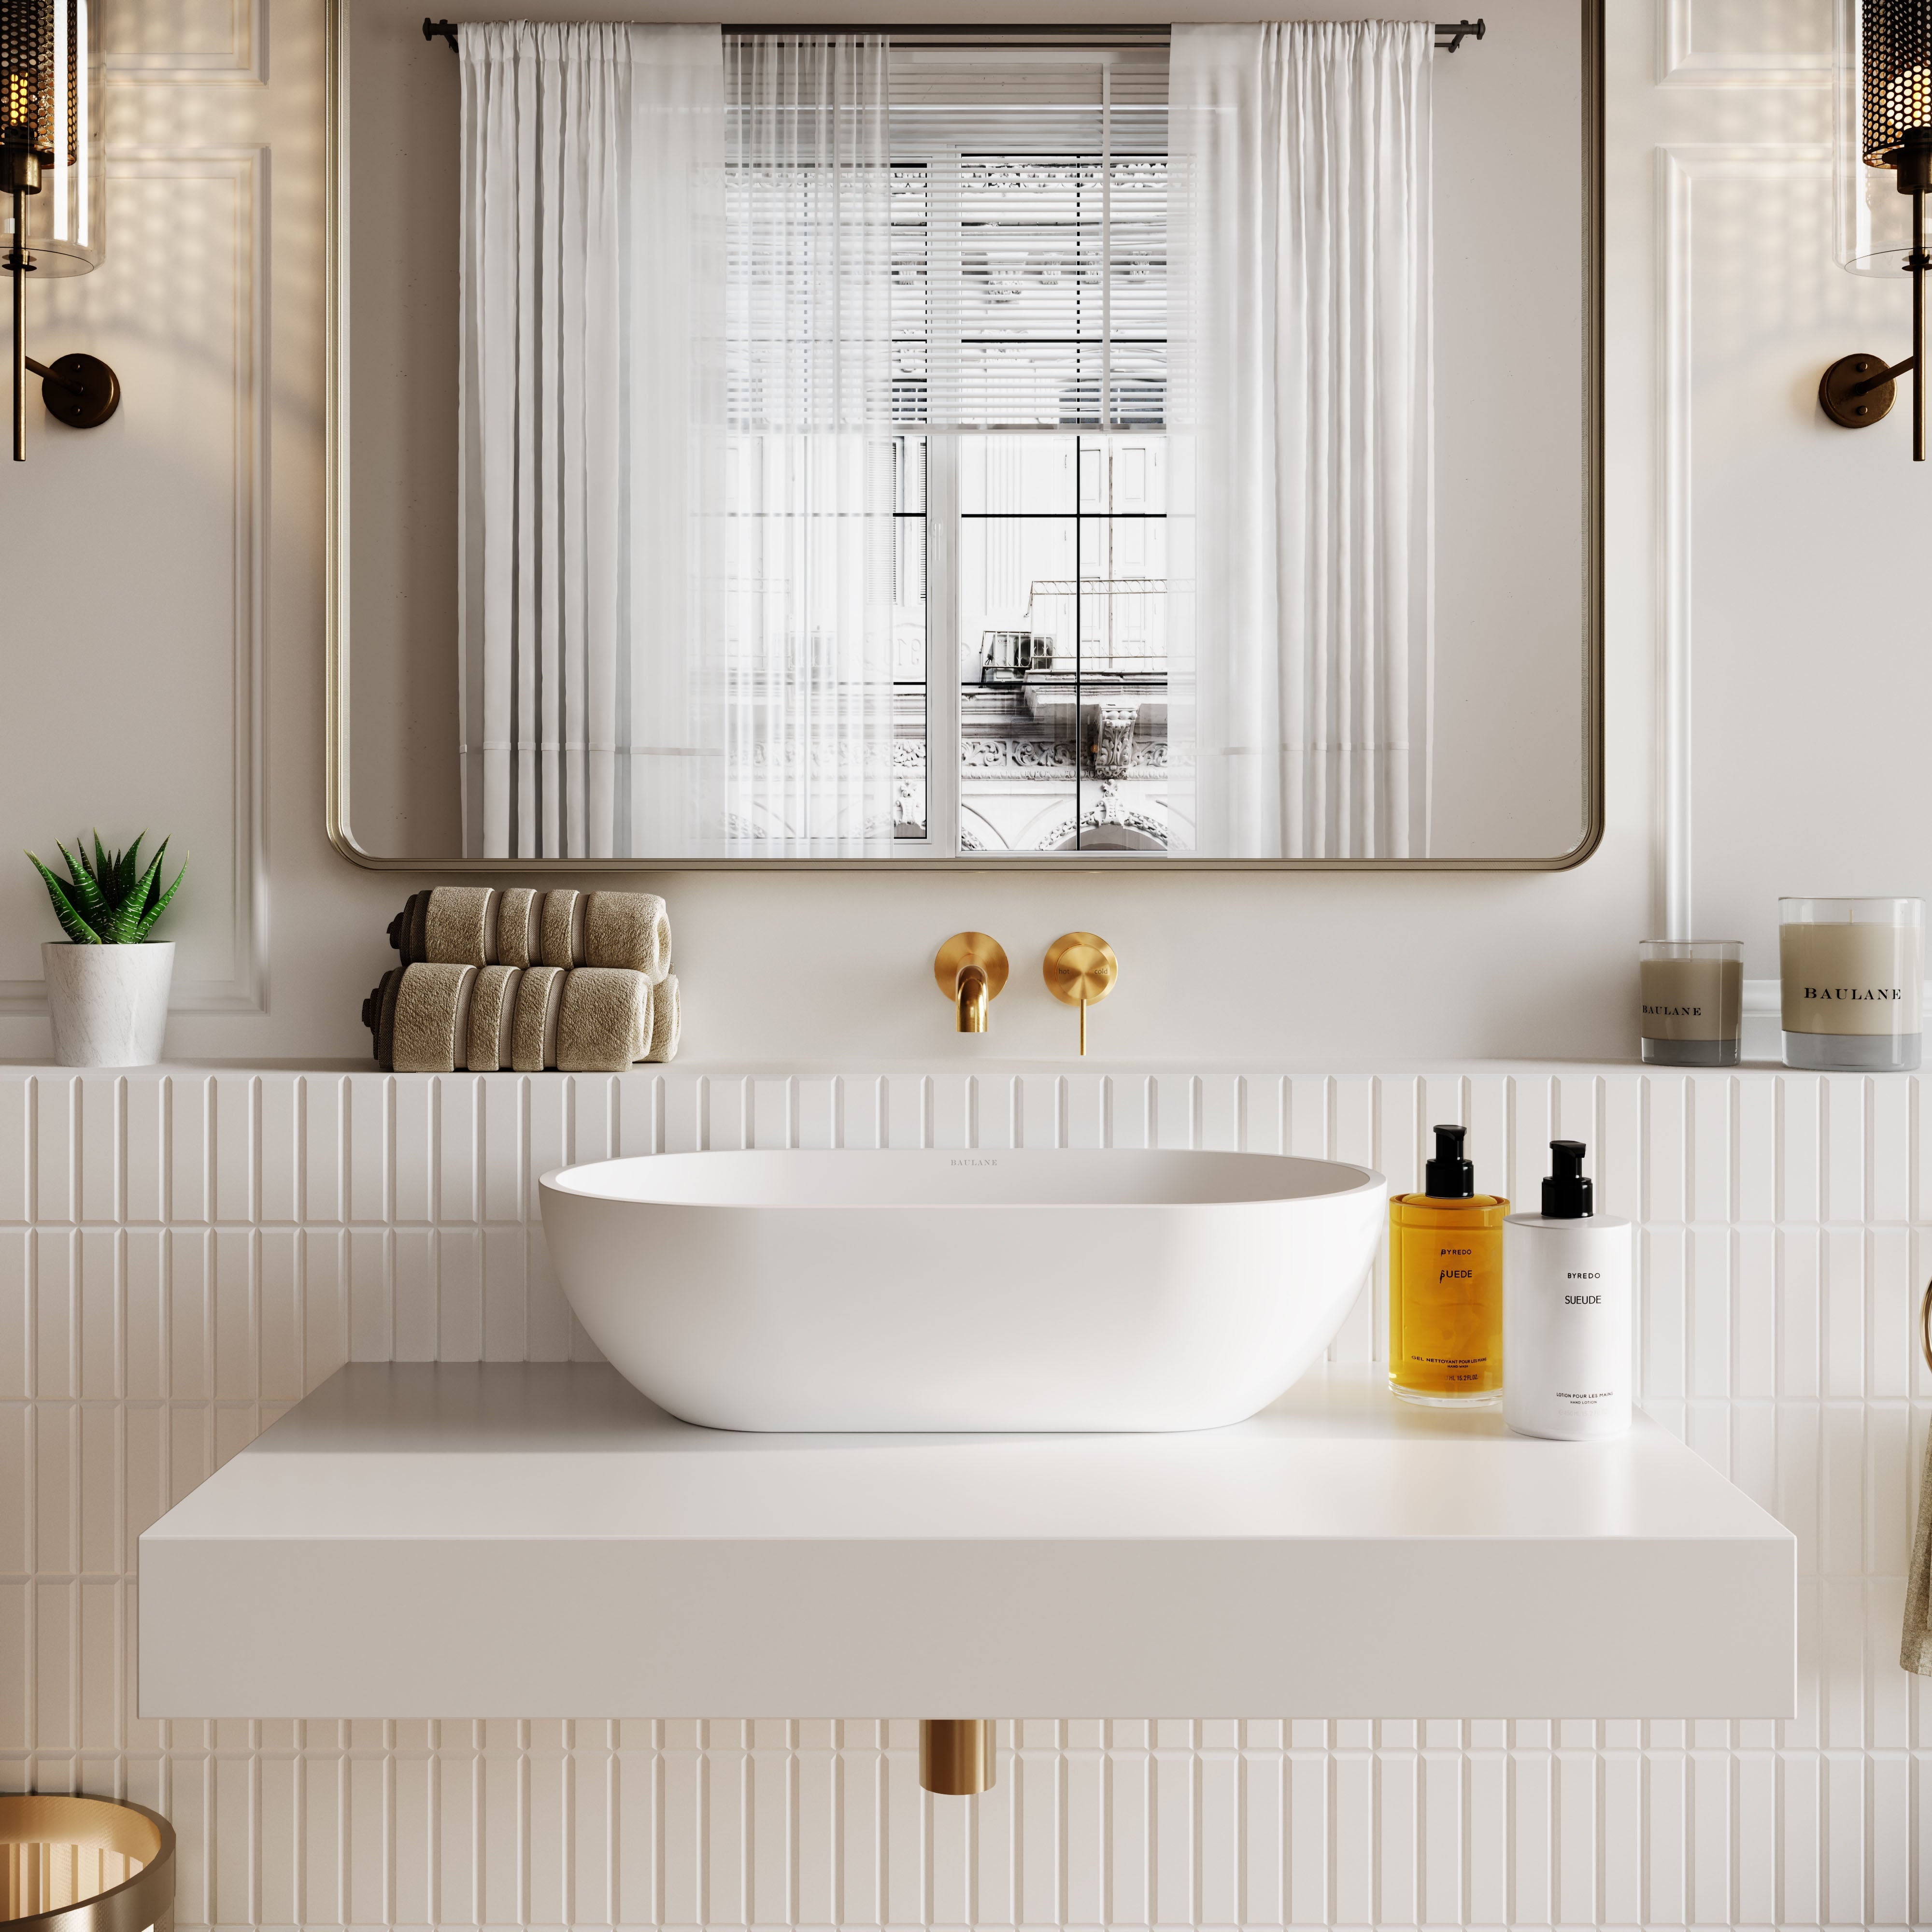
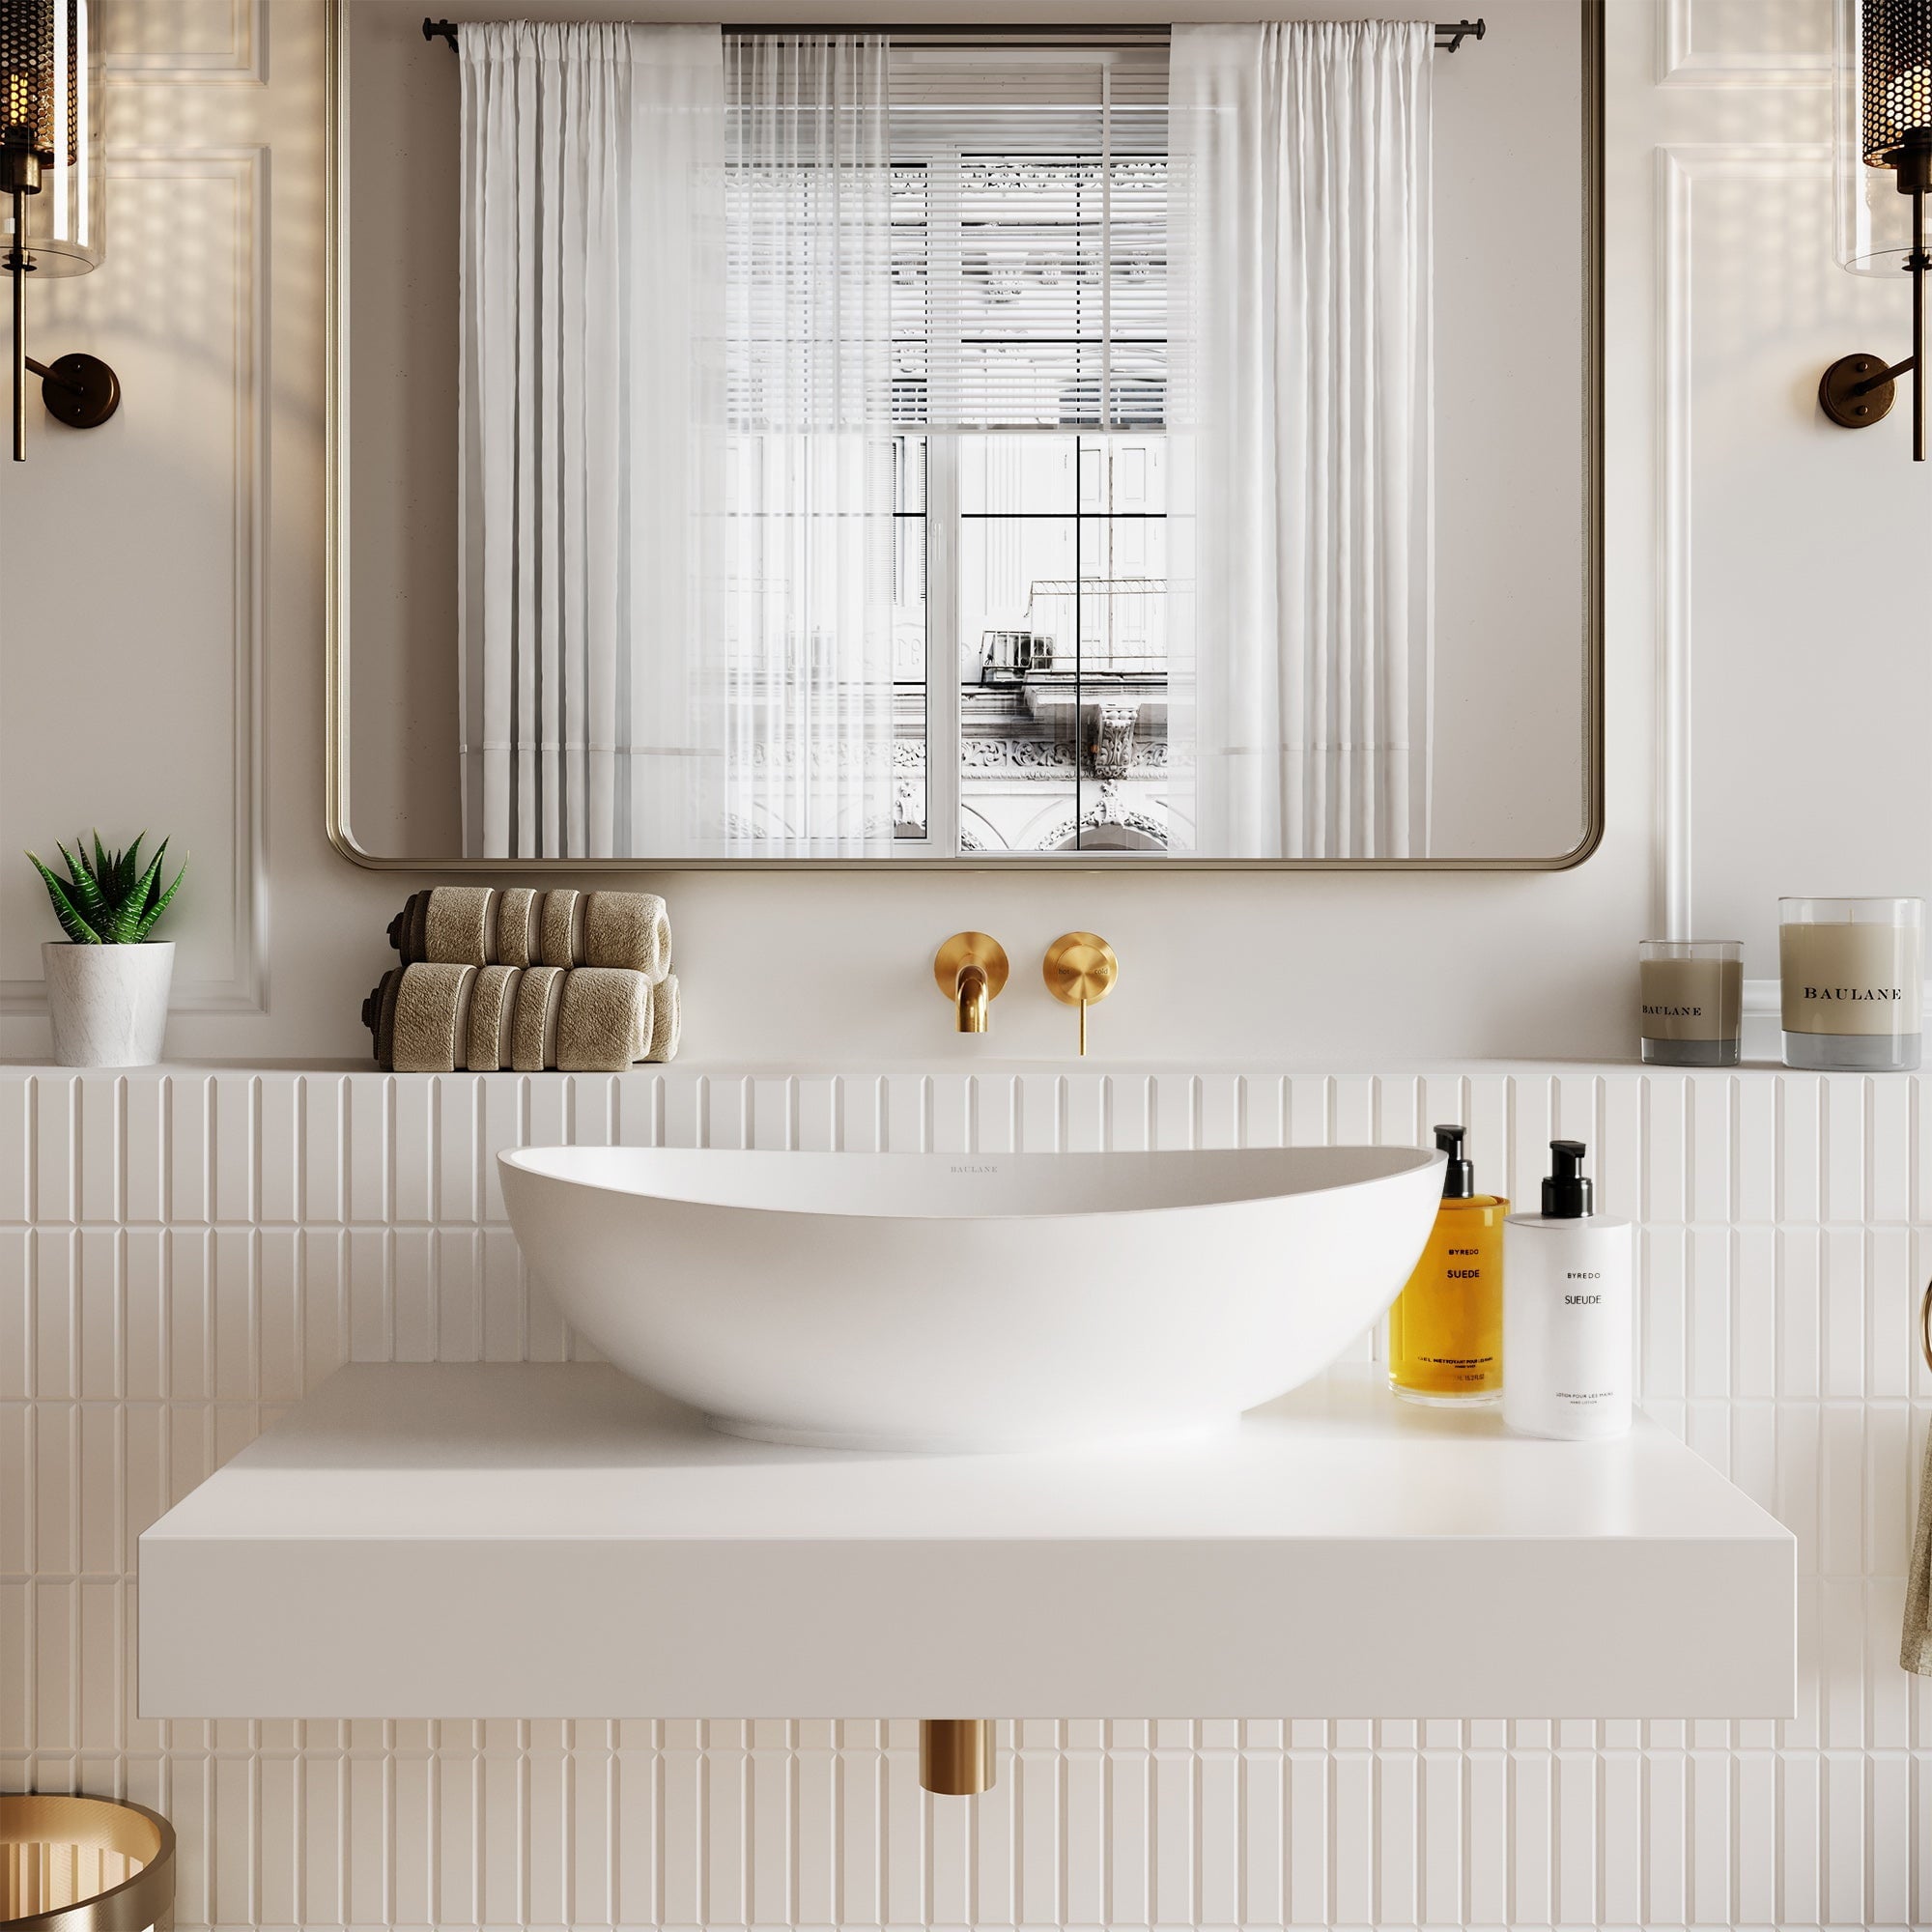
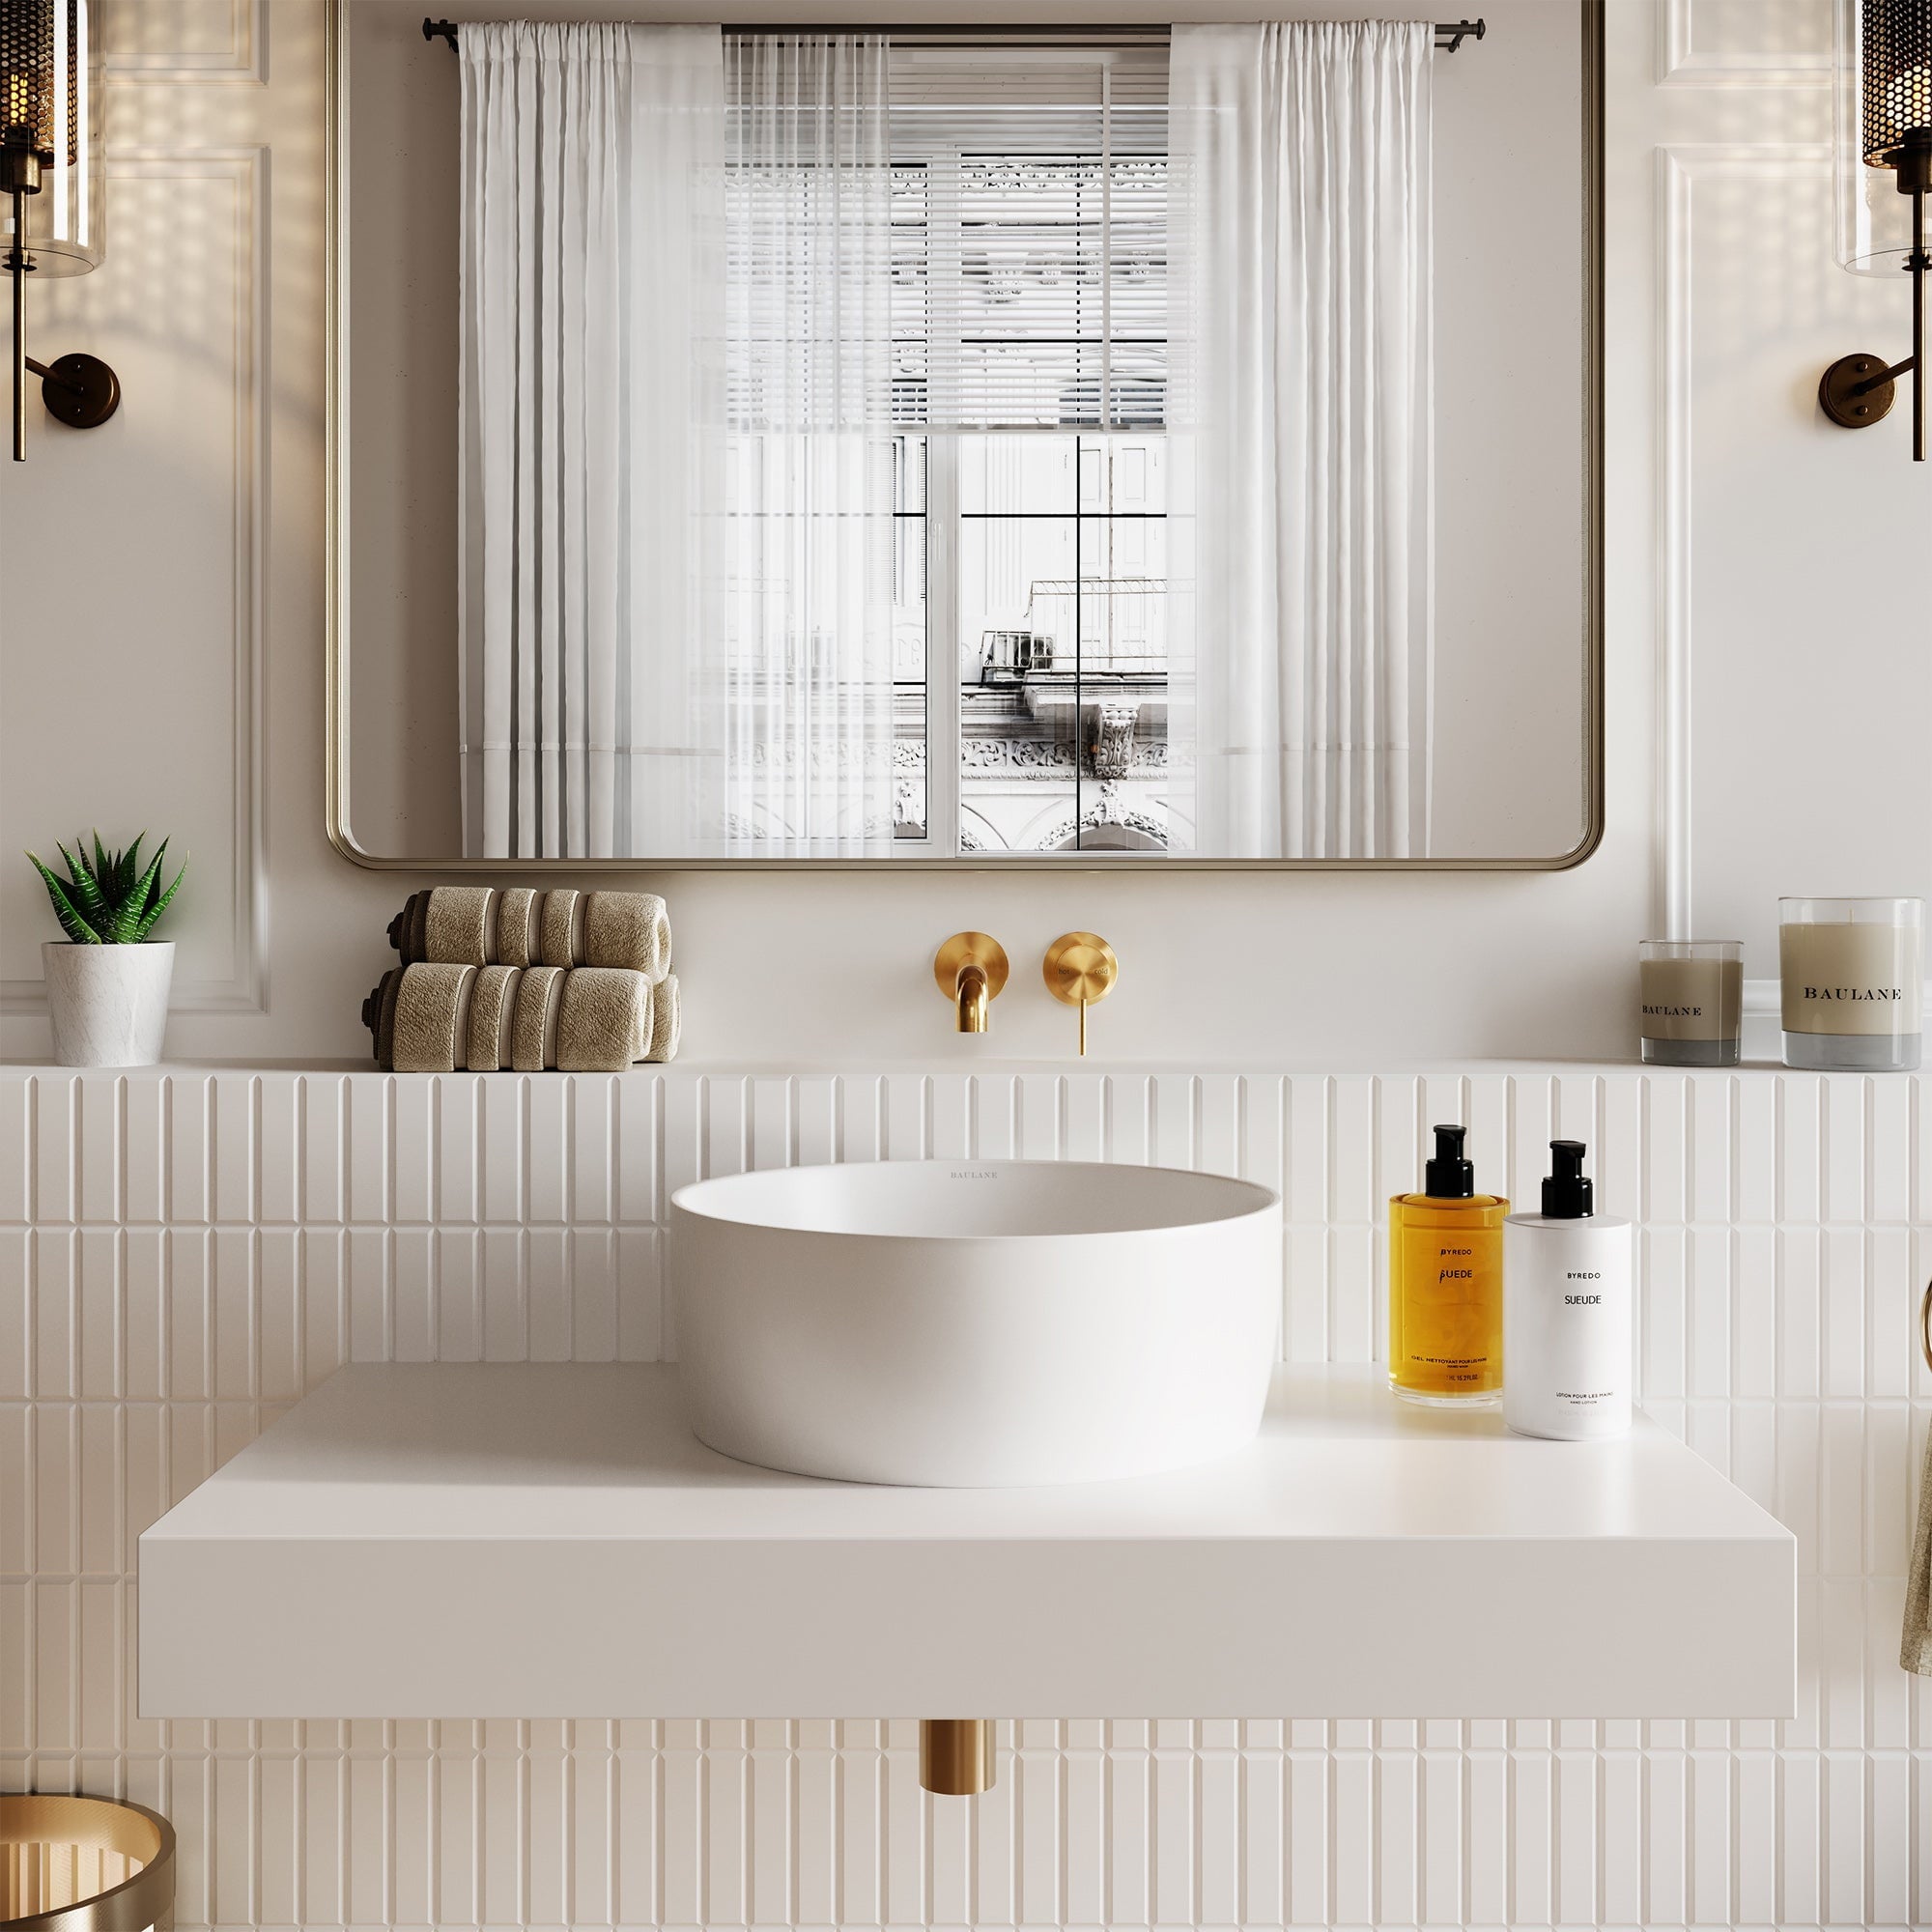
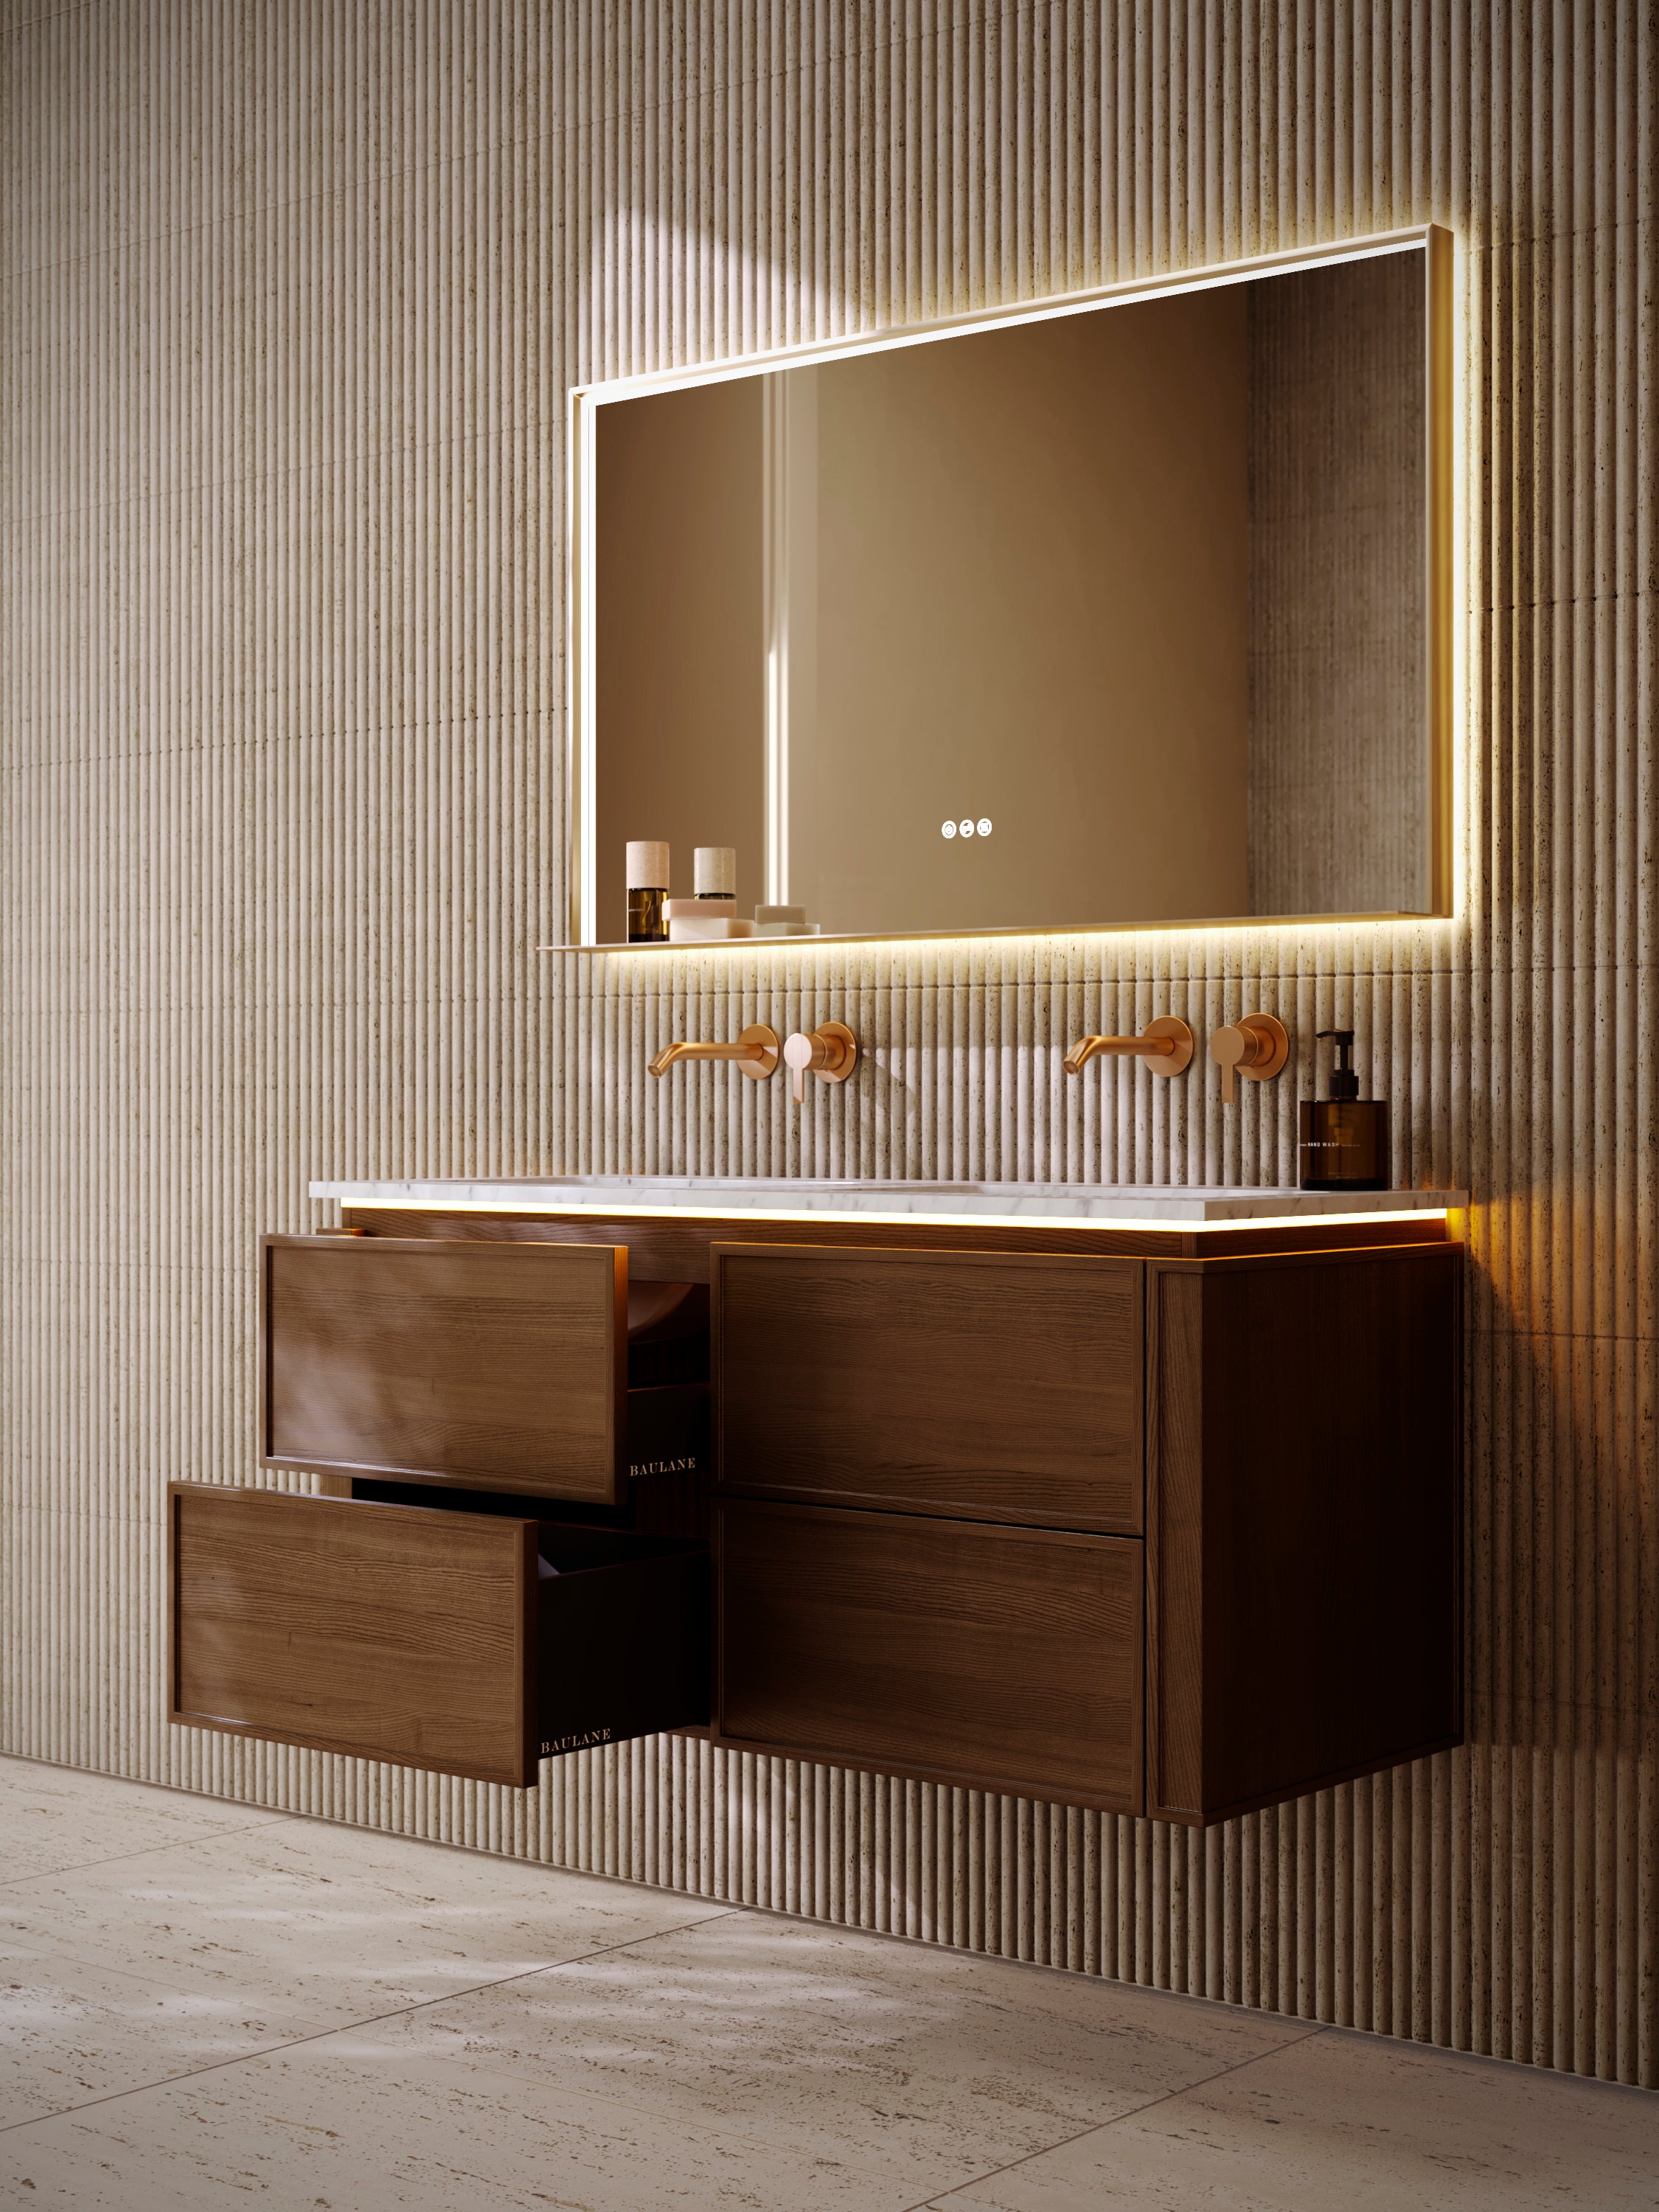
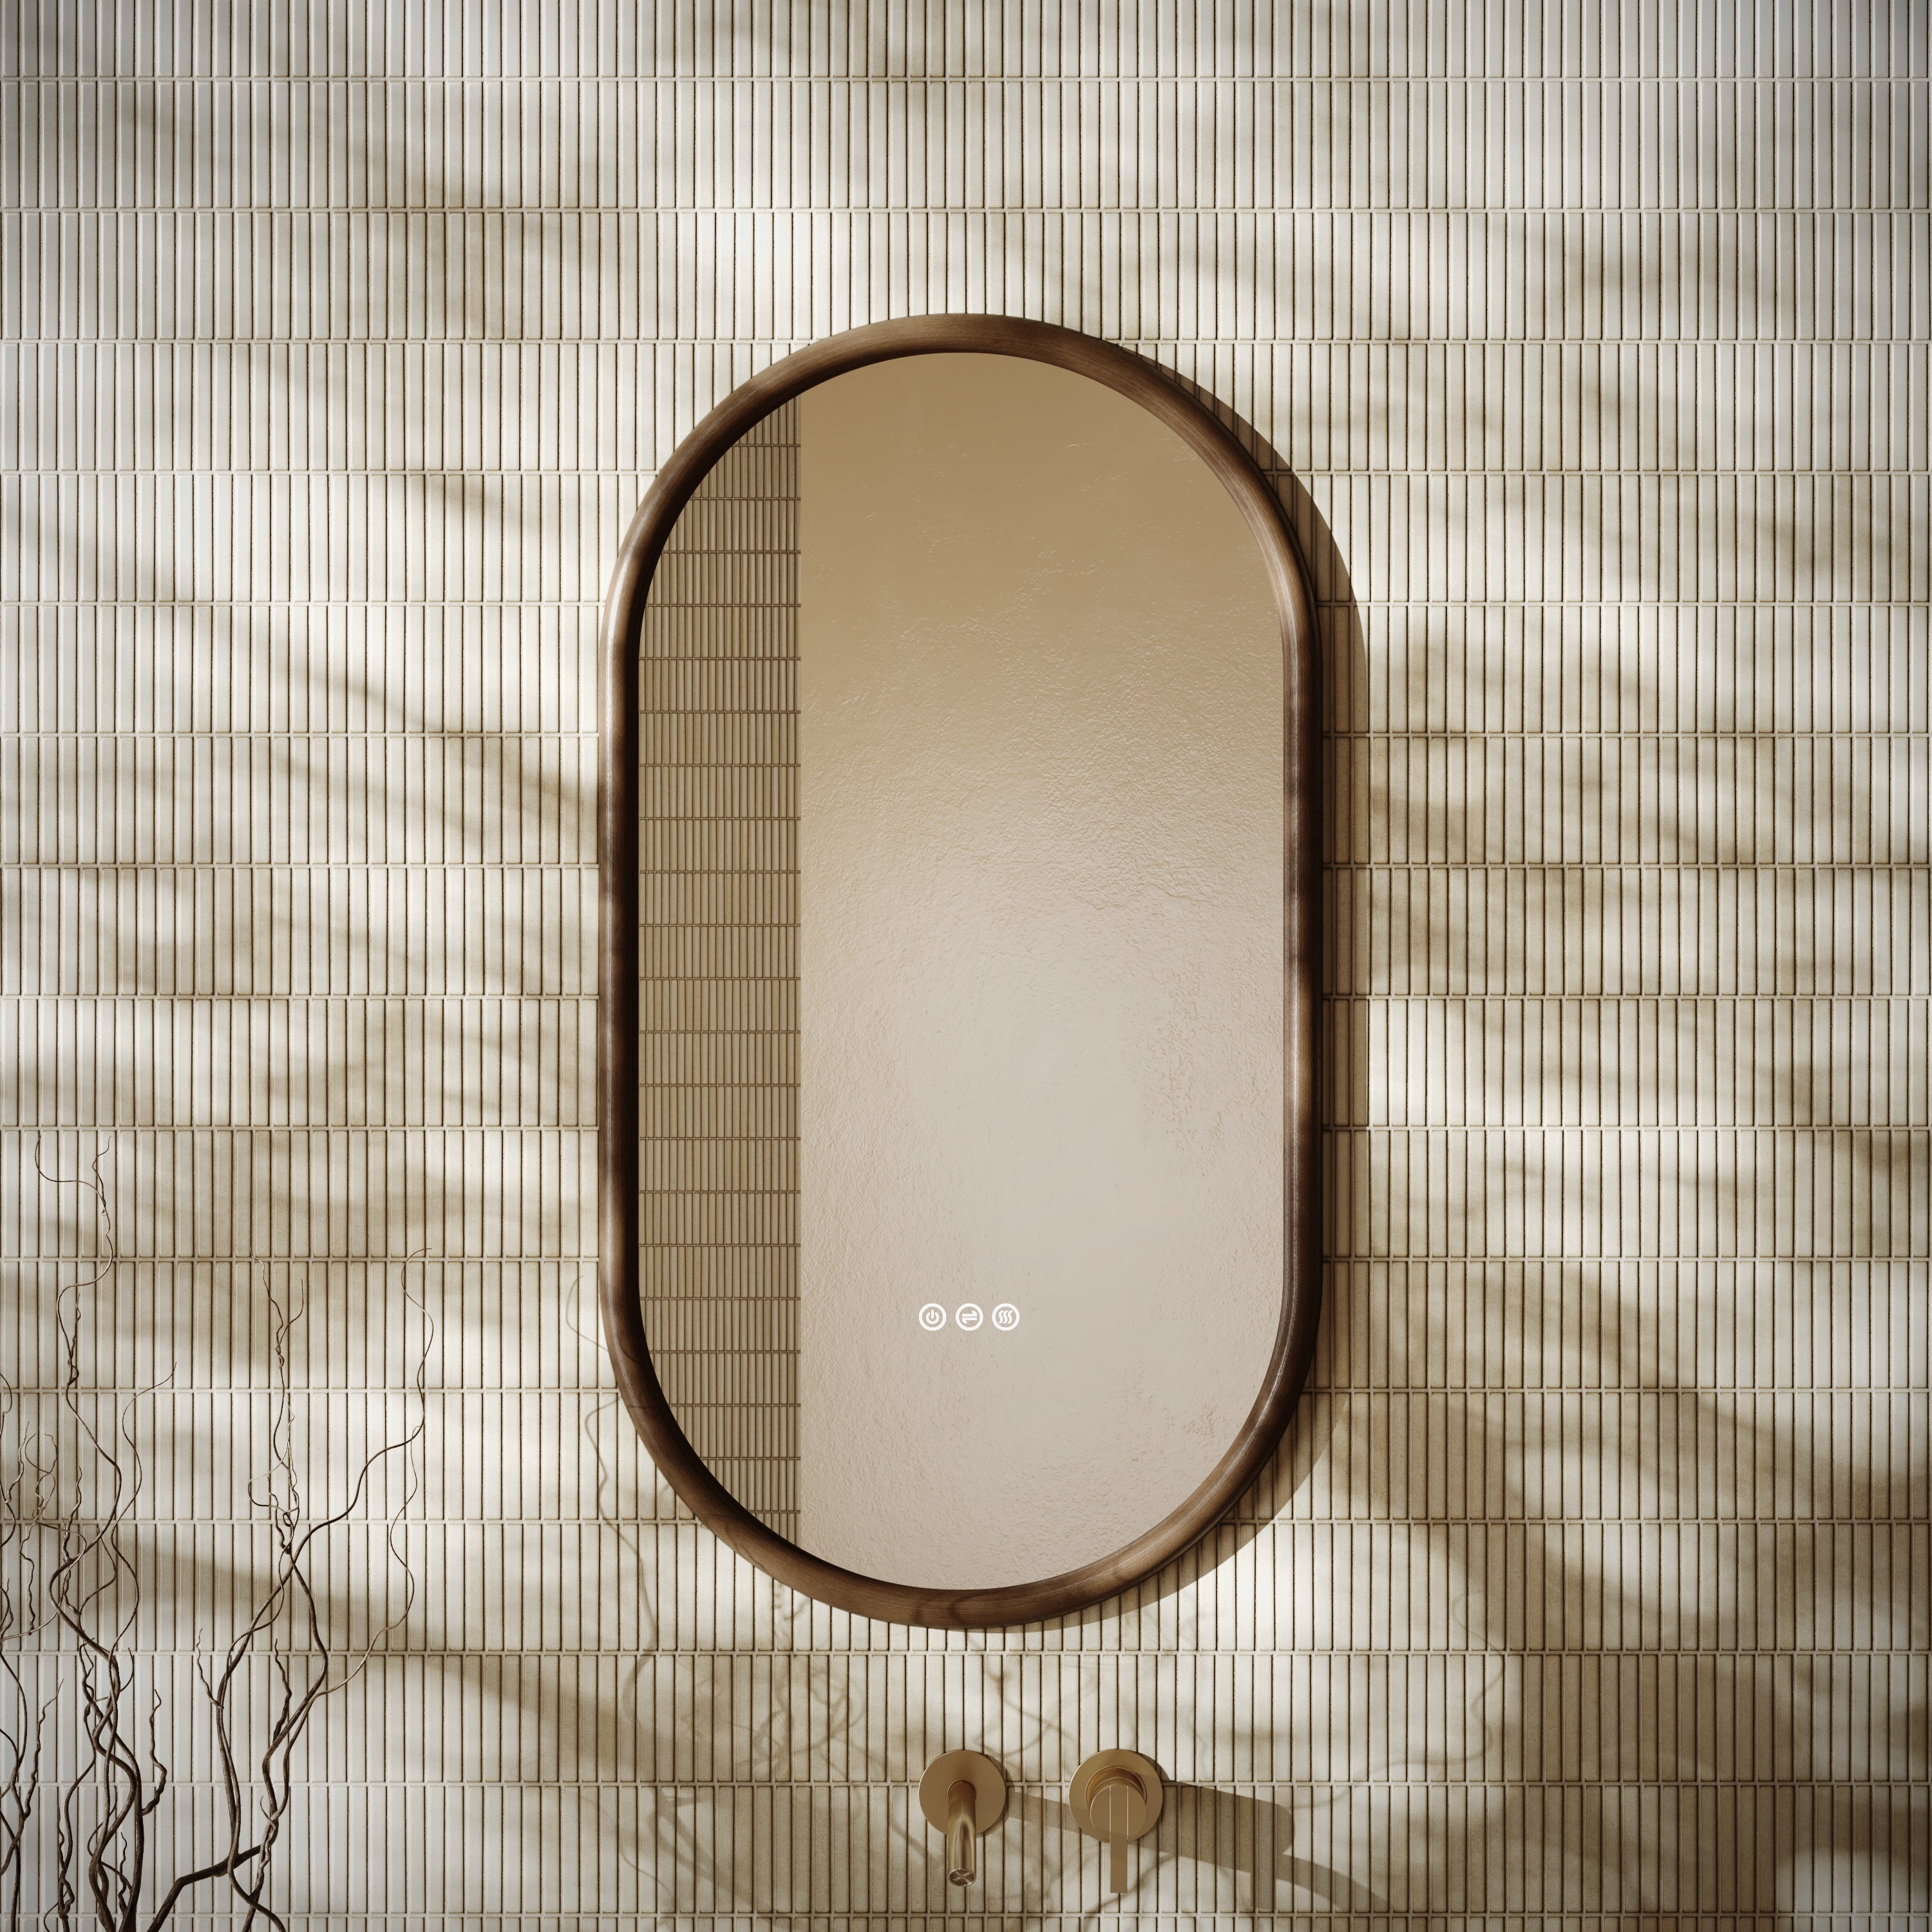
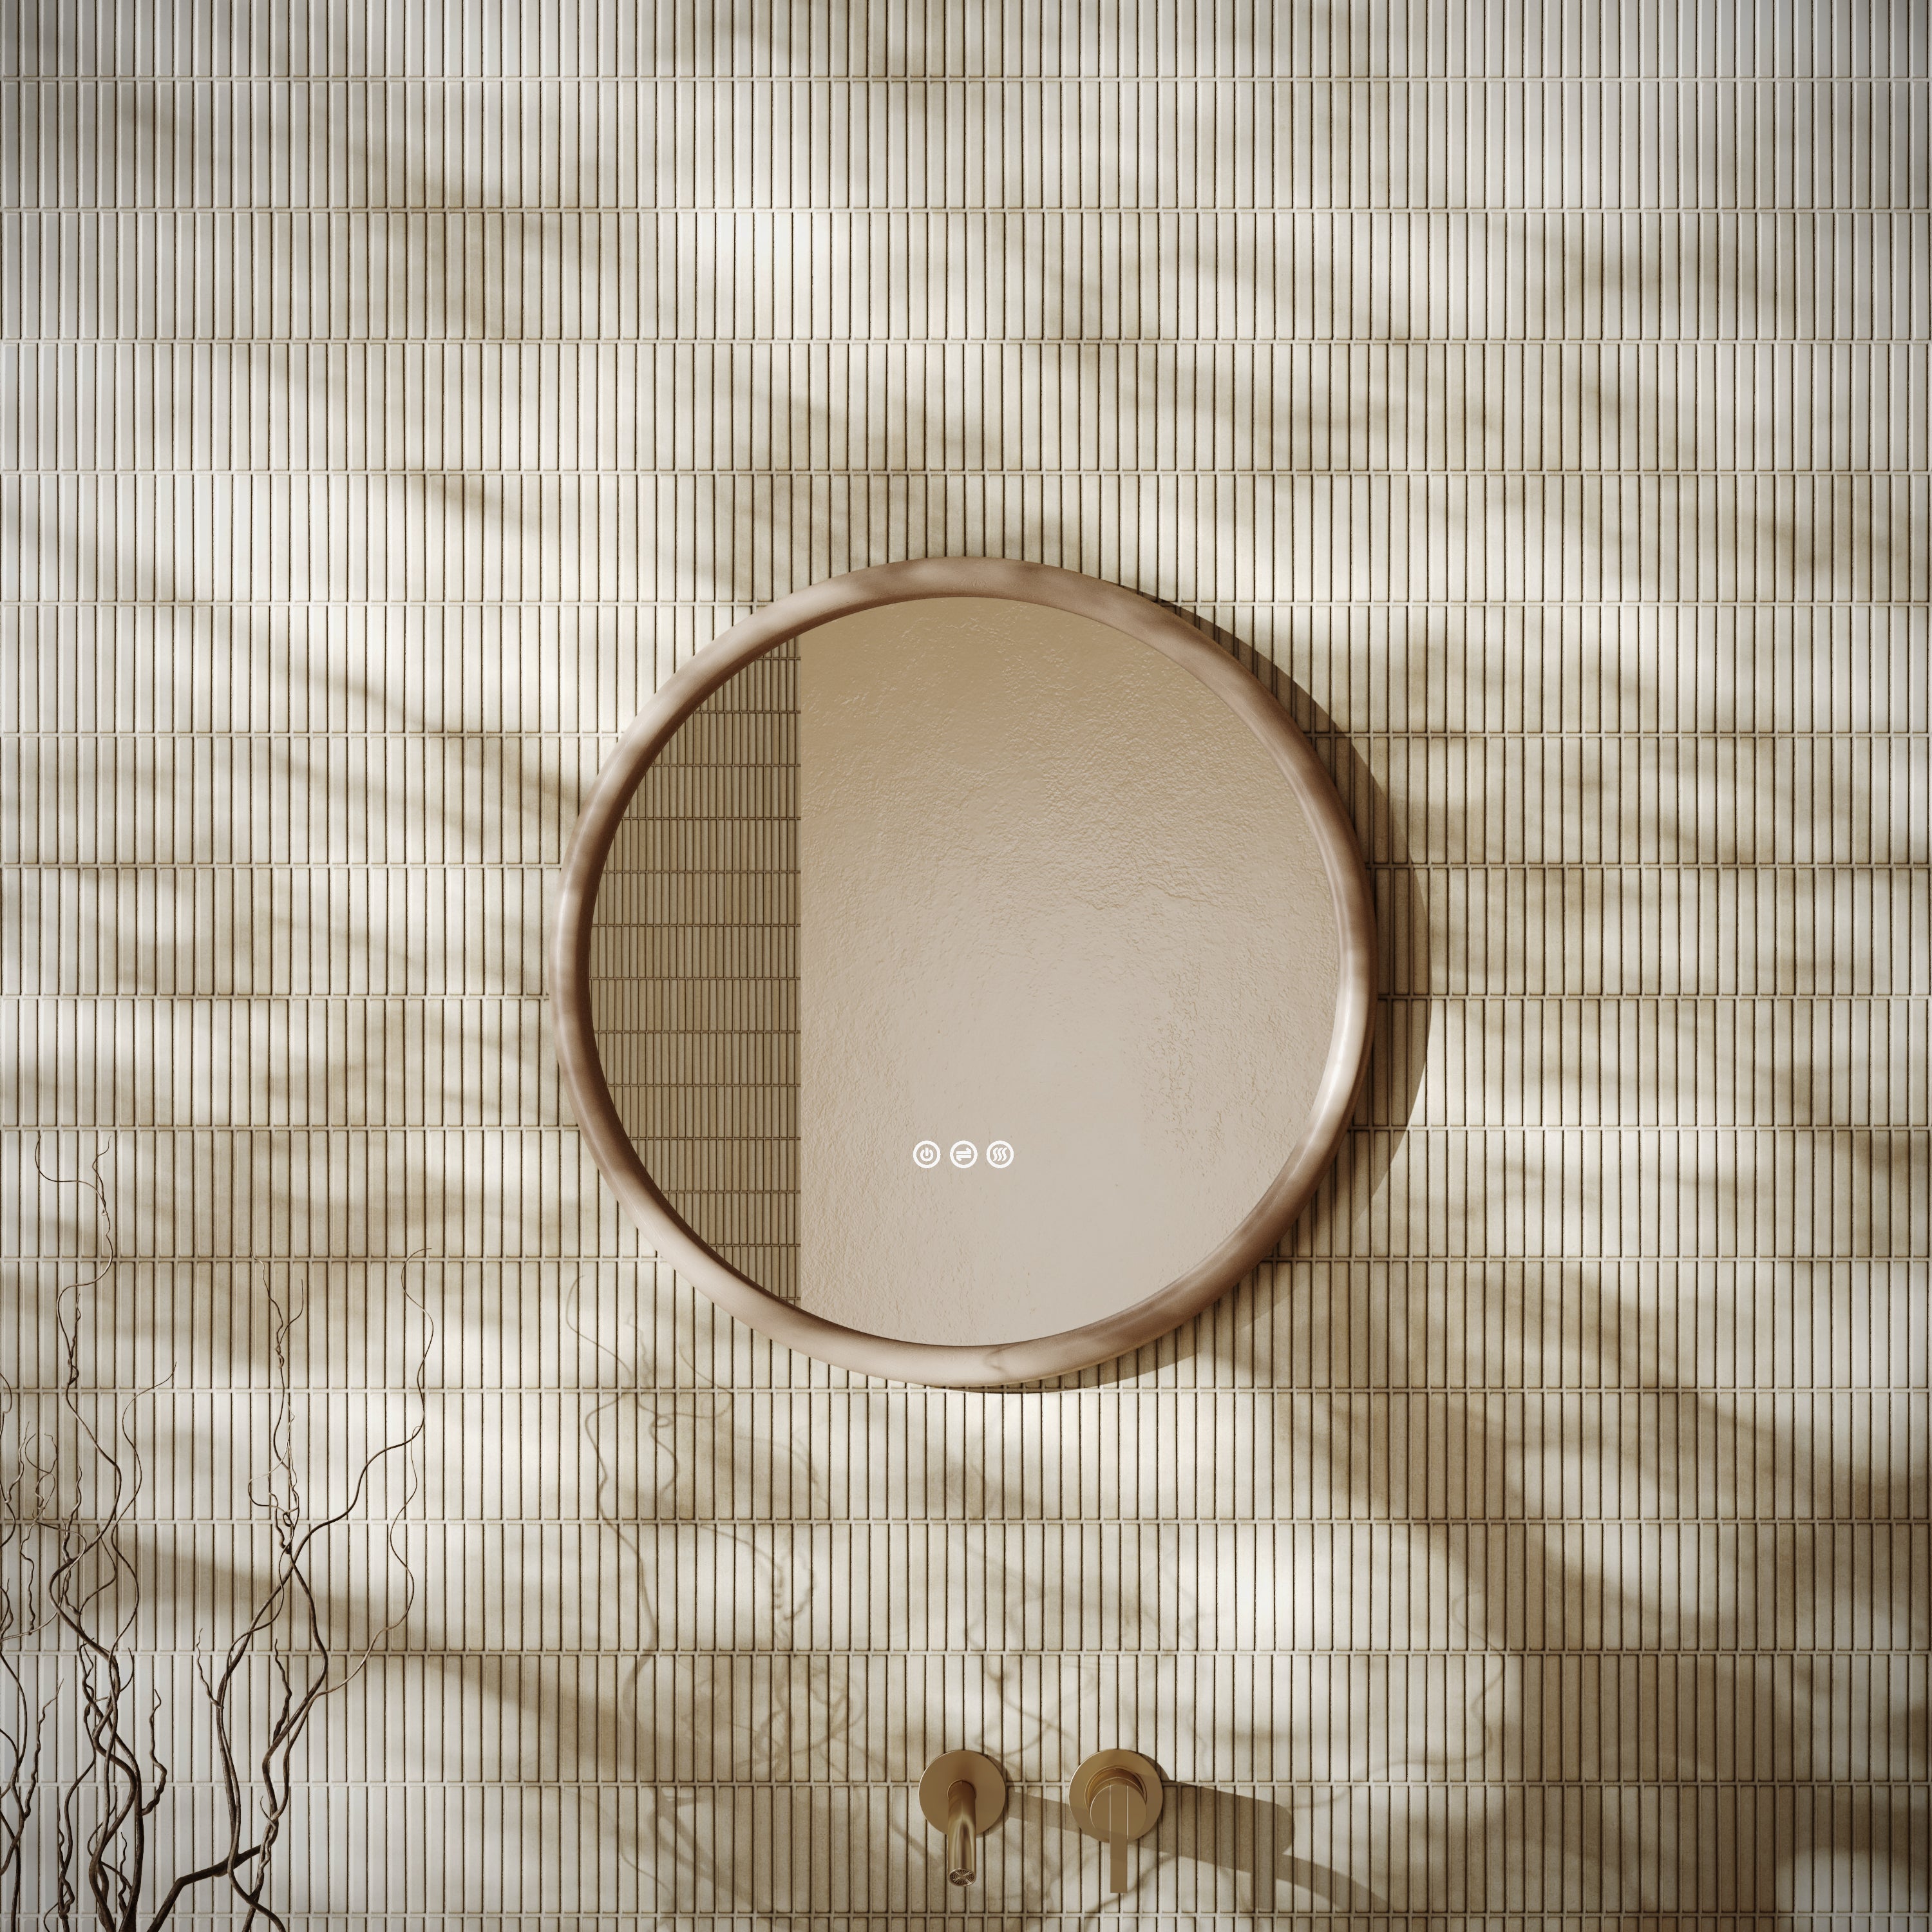
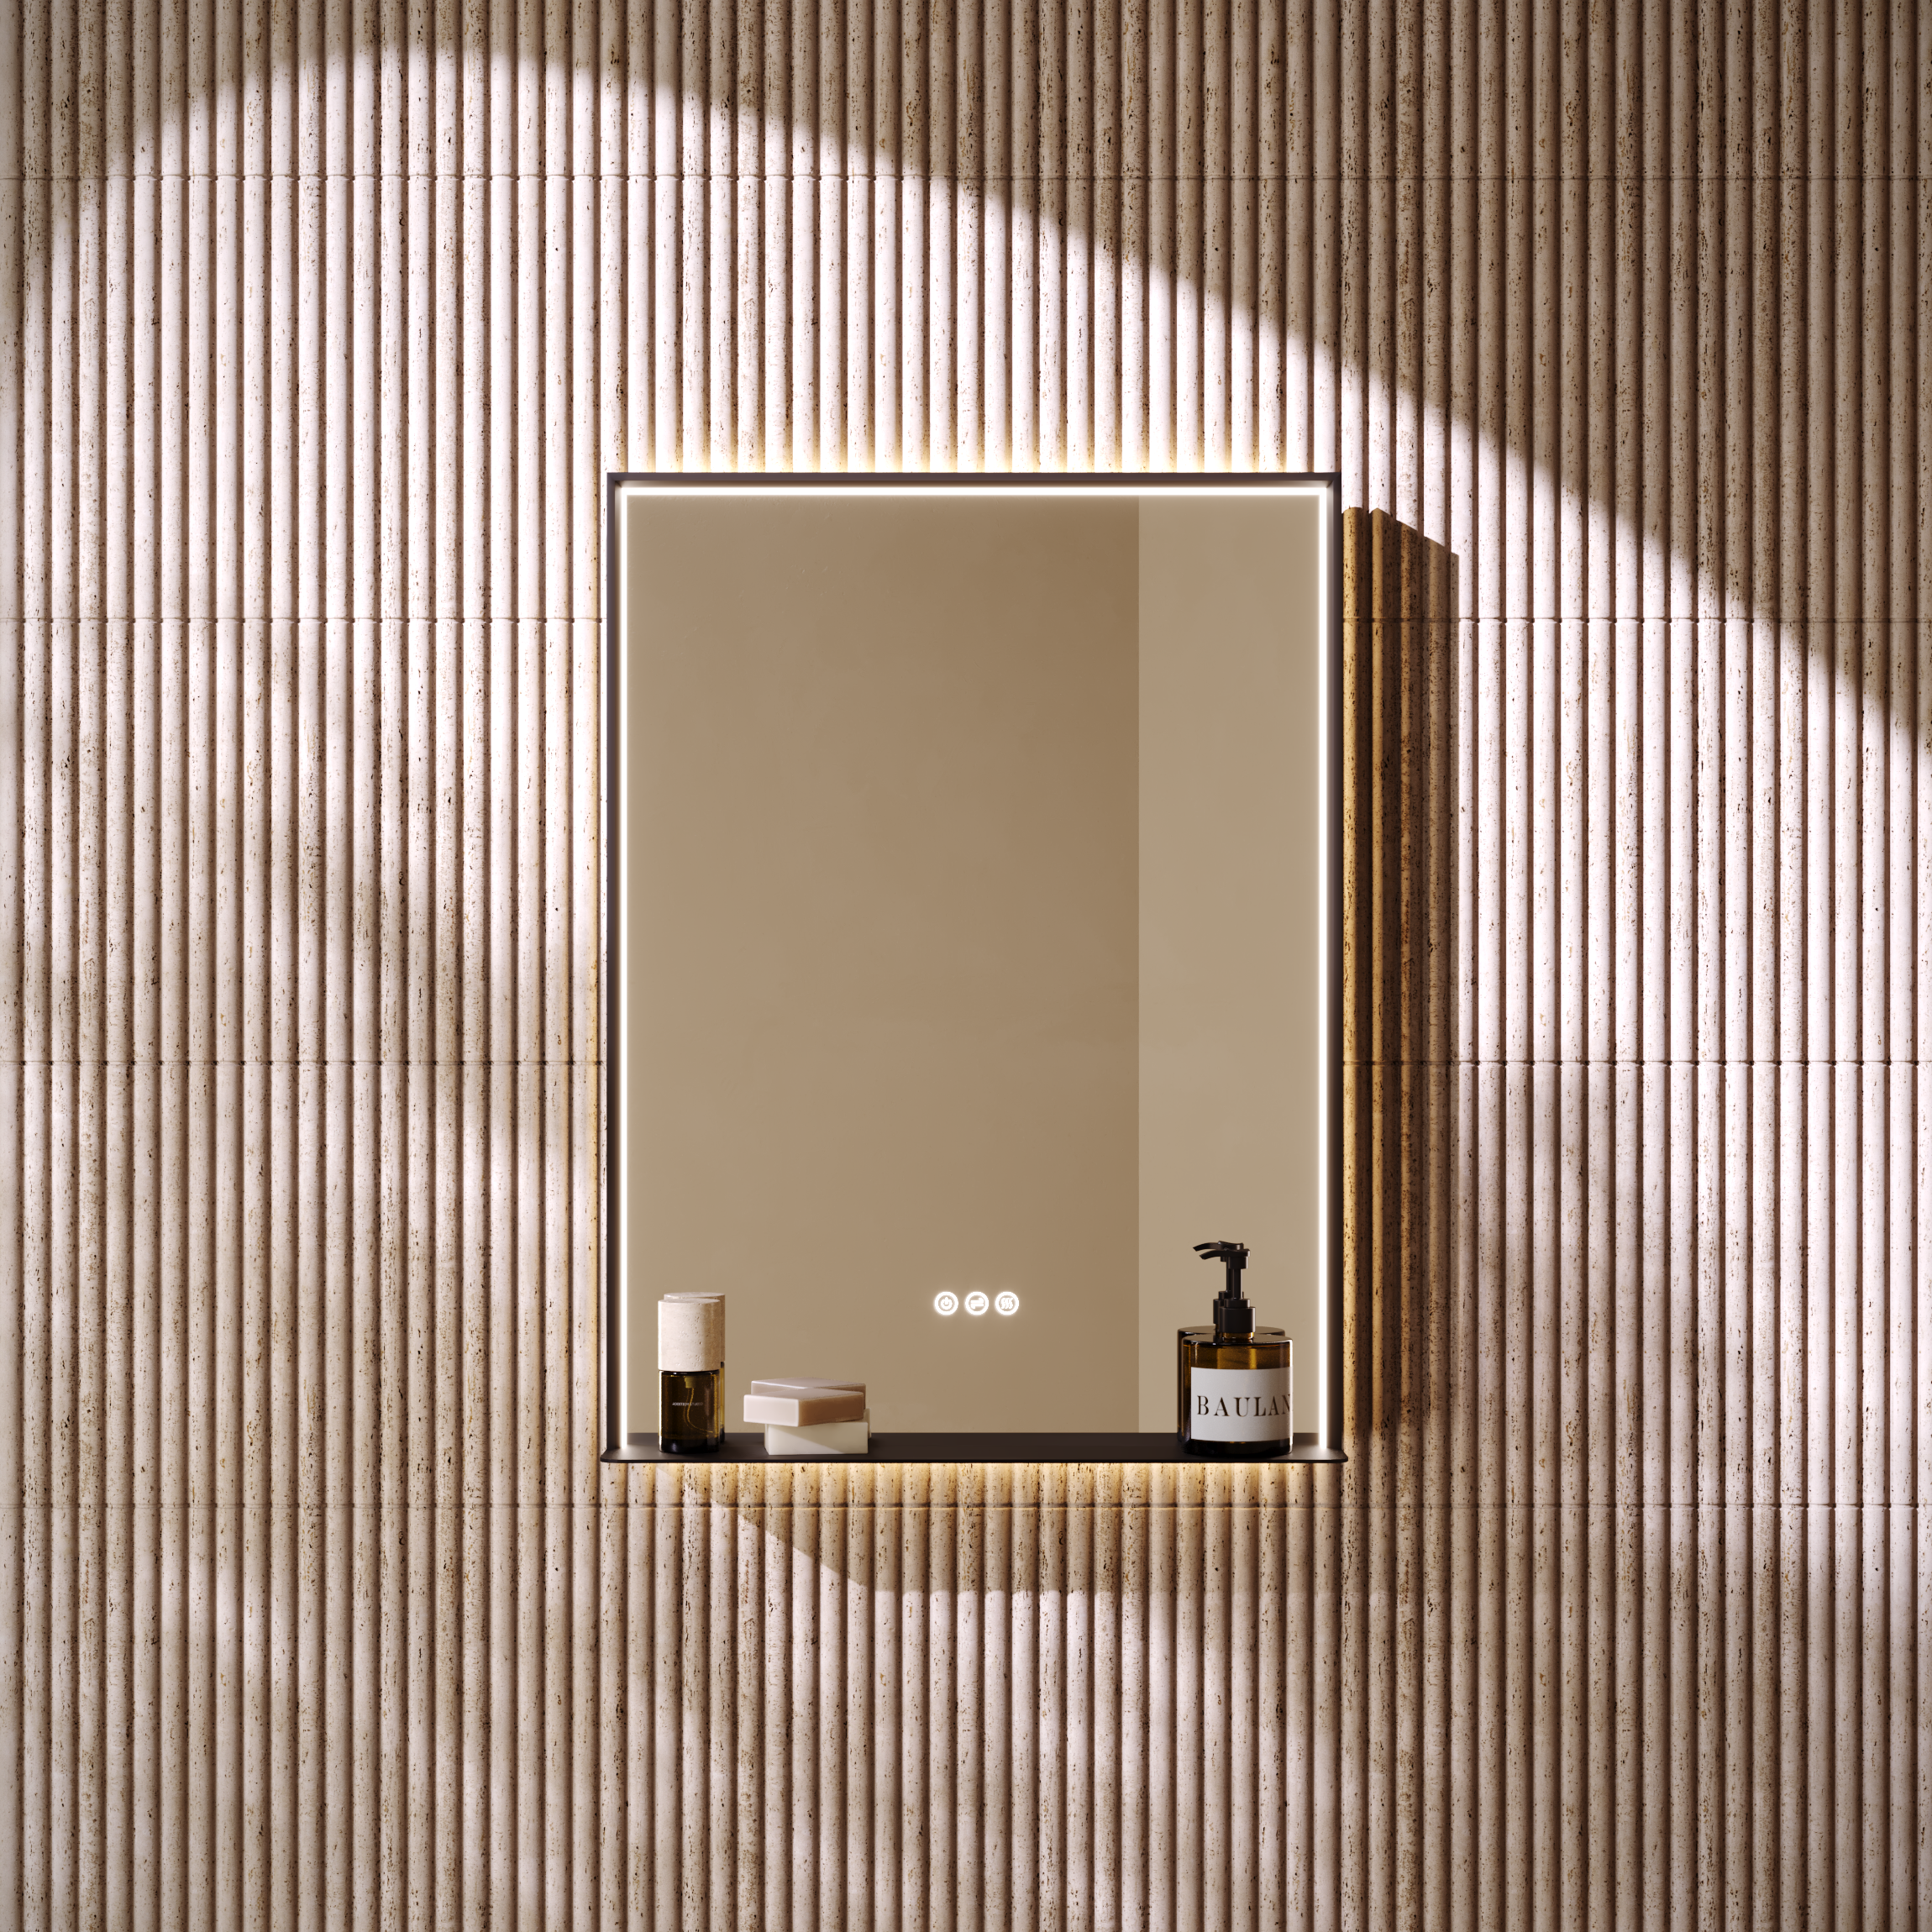
What makes a good bathroom?

Read on for our tips and suggestions. Drop a comment below to let us know your thoughts. 


1. Opt for Timeless Design: Avoid falling for design trends, a common mistake in bathroom design. Tiles, known for their durability, make an excellent choice for bathroom walls. However, their robust nature can make uninstallation or updates challenging. Prioritize your personal style and select something you genuinely love.

2. Create a Stunning, Practical Splashback: When designing a splashback, aim for both practicality and visual appeal. Antique patterned tiles in subtle contrasting colors make a bold statement, while pastel shades add a touch of contemporary elegance. Simple geometric patterns can infuse a pop of color and a modern vibe, while jewel-toned glazed tiles create a particularly striking effect.


 "We advise against using these for bathroom floors due to slip risk, but a glazed tile splashback or wall can provide a nice contrast with a matte floor tile."


3. Ditch the Safe White Grout: Avoid the common choice of safe white grout. Instead, opt for colorful grout to elevate your bathroom design. Colored grout can highlight specific colors in patterned tiles, offering a surprising touch of fun. Alternatively, using a contrasting color adds sophistication and depth to your design. Dark grout, in particular, adds texture and intrigue, remaining both sophisticated and practical.

4. Choose Glazed Tiles for Versatility: Don't underestimate the versatility of glazed tiles. Their reflective quality enhances the sense of space, making small areas appear larger by reflecting more light. Bright shades are both timeless and versatile, amplifying the enlarging effect of glazed tiles. While we caution against using glazed tiles for bathroom floors due to slip risks, they make an excellent choice for splashbacks or walls, creating a pleasing contrast with matte floor tiles.


 white-bath-in-front-of-black-tiling


5. Order Samples for Accurate Visualization: Prior to making a purchase, consider ordering a sample first. Whether it's a swatch sample or a full tile sample, this allows you to accurately assess the color, texture, and finish of the tile. We offer 30 x 40cm samples, particularly beneficial for large-format tiles and natural stone products like limestone and marble, where patterns and tonal variations are unique.

6. Order Sufficient Tiles to Avoid Costly Mistakes: It's a common and potentially costly mistake to underestimate the number of tiles needed when ordering online. Always order an extra 10% to account for wastage and breakages. For herringbone formations, whether on walls or floors, consider ordering an additional 15% to accommodate intricate cuts. Note that batches of tiles may vary in color, underscoring the importance of getting it right initially to prevent any mix-match shades in your design.

7. Consider Tile Size and Grout Lines: Carefully consider the size of your tiles in relation to your bathroom space. Larger bathrooms can typically accommodate large-format tiles. Pay attention to grout lines, as smaller tiles with more grout lines can make a space appear busy. If numerous grout lines are inevitable, consider using colored grout in a similar shade to the tile for better flow.


 "We advise against using these for bathroom floors due to slip risk, but a glazed tile splashback or wall can provide a nice contrast with a matte floor tile."


8. Choose the Right Tile for the Right Location: Avoid using the wrong tile in the wrong place. Consider the location's specific requirements, such as slip resistance for bathroom floors or compatibility with underfloor heating for wet rooms.

9. Seal Natural Stone and Tiles Appropriately: Ensure your efforts in selecting the right tiles aren't in vain. If you've chosen natural stone or tiles requiring sealing, use the correct product. Apply an impregnating sealant, like Stone Essentials Stain Block, after installation and cleaning but before grouting. For crackle glaze tiles, use a crackle glaze sealant. Apply a second coat after grouting. Consider a surface finish like Stone Essentials Stone Shield or Wax polish for additional protection, especially in non-wet areas, applied after grouting and fully drying (around seven days depending on humidity).


Leave a comment

LIKE WHAT YOU'VE READ?

Subscribe to our newsletter

×